
IMK Corne - Build Guide
Step 0 - Check Components
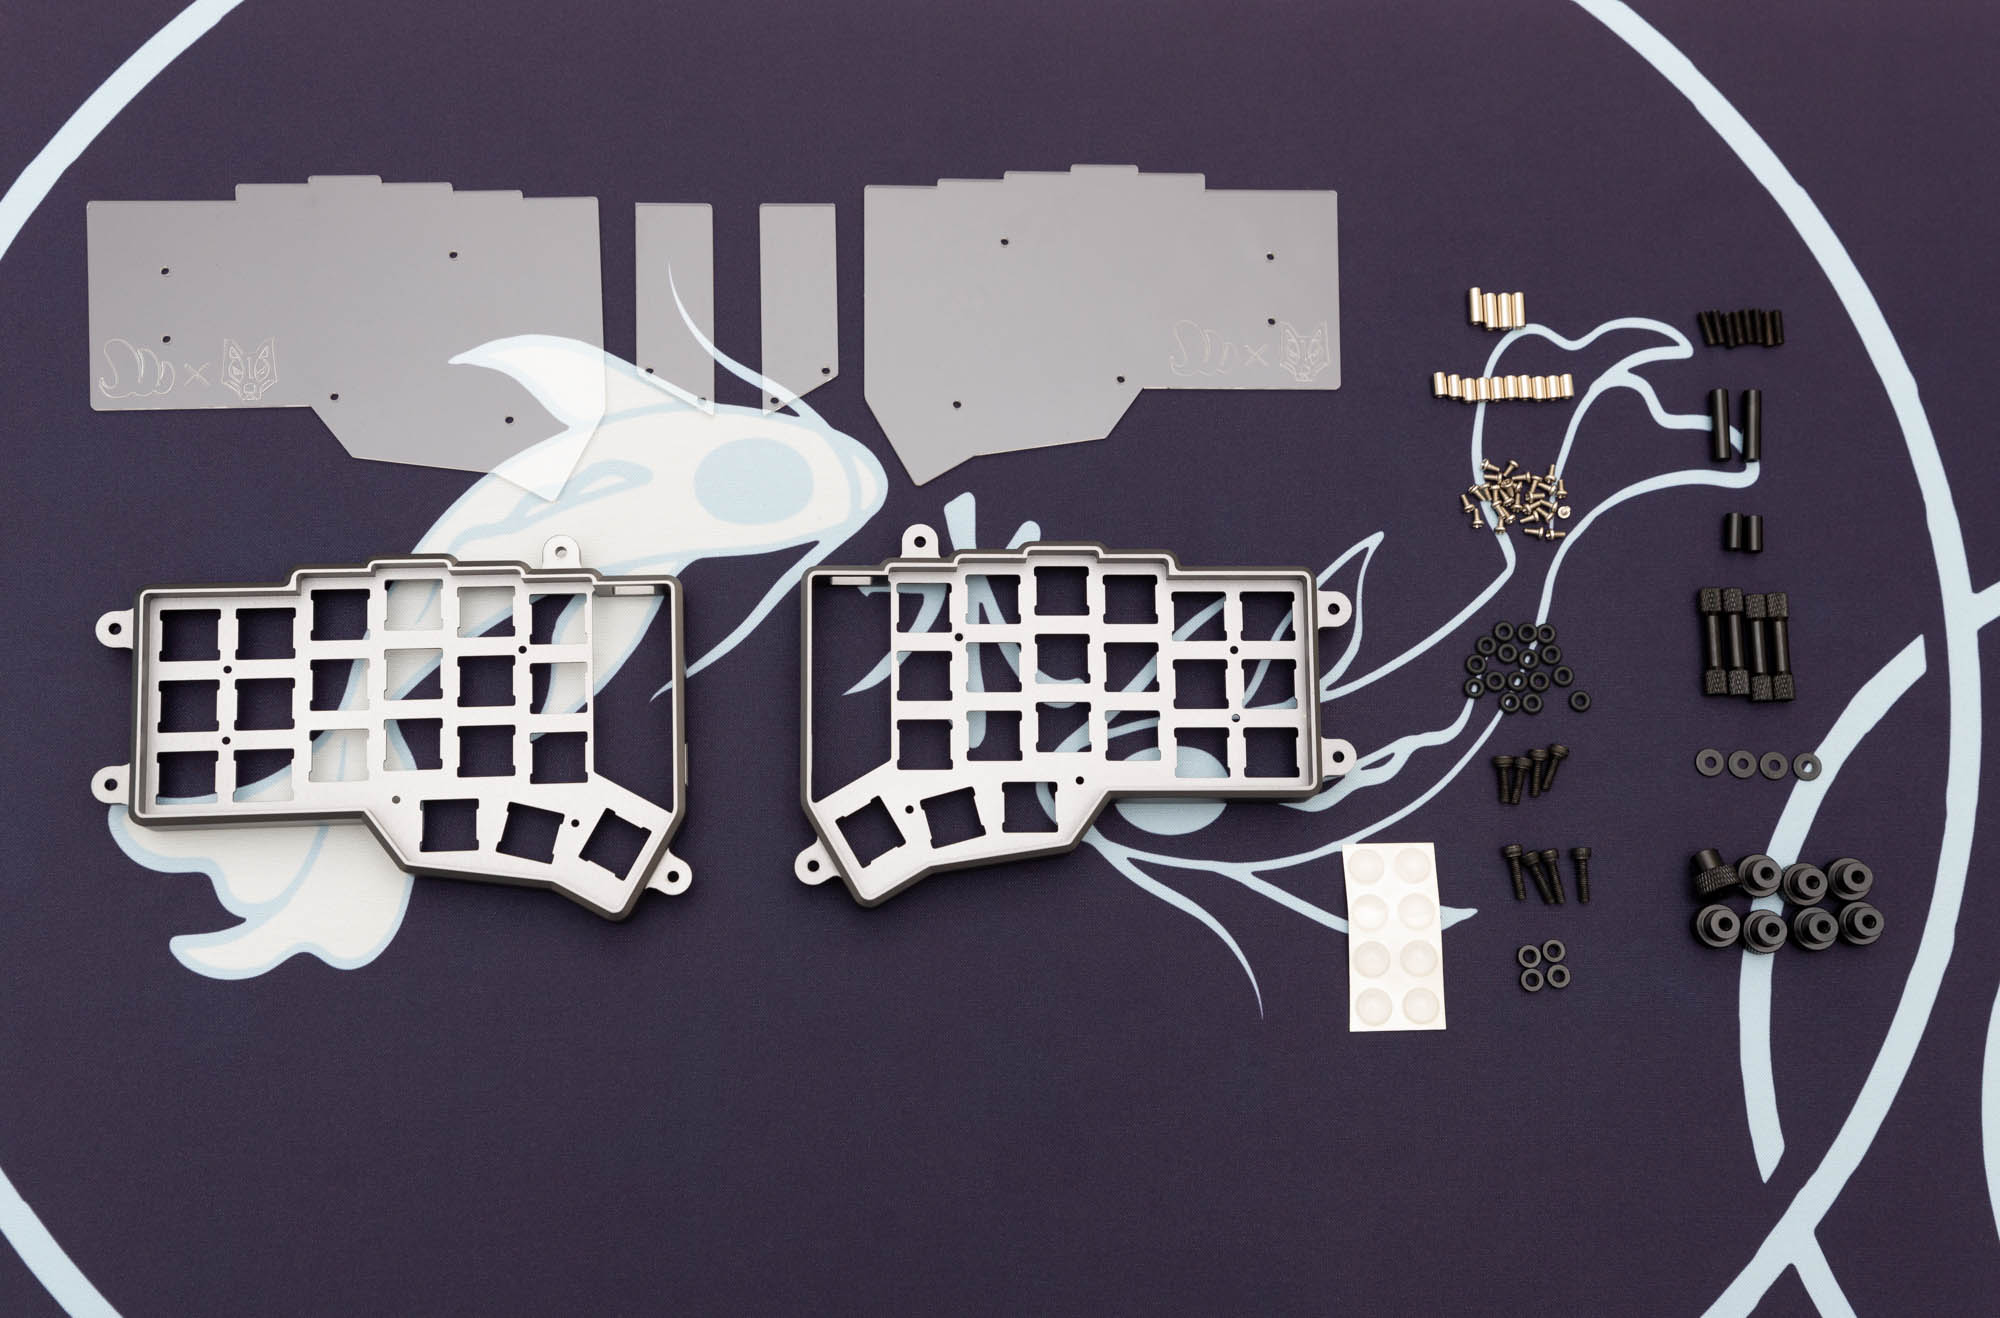
| Component | Quantity |
|---|---|
| CNC Corne Case | 1 pair |
| Acrylic Bottom Covers | 1 pair |
| OLED Acrylic Covers | 4 pieces |
| Silver PCB Standoffs | 10 pieces |
| Silver M2 Screws | 24 pieces |
| Rubber O-Rings* | 16 pieces |
| Short M3 Tenting Screws* | 4 pieces |
| Long M3 Tenting Screws* | 4 pieces |
| M3 Hex Nuts* | 4 pieces |
| M3 Joining Screws* | 8 pieces |
| Long M3 Tenting Leg Standoffs* | 2 pieces |
| Short M3 Tenting Leg Standoffs* | 2 pieces |
| Knurled M3 Tenting Leg Standoffs* | 4 pieces |
| Nylon O-Ring Spacers* | 4 pieces |
| Thumb Tightening Nuts* | 8 pieces |
| Transparent Adhsive Silicone Bumper Feets | 8 pieces |
- These components are for tenting model only. If you ordered non-tenting, then your kit will not have these items.
- Please check and make sure you have all the components as listed above. We have provided extras to your proxy in case you are missing or misplaced any components.
Step 1 - Install PCB Standoffs
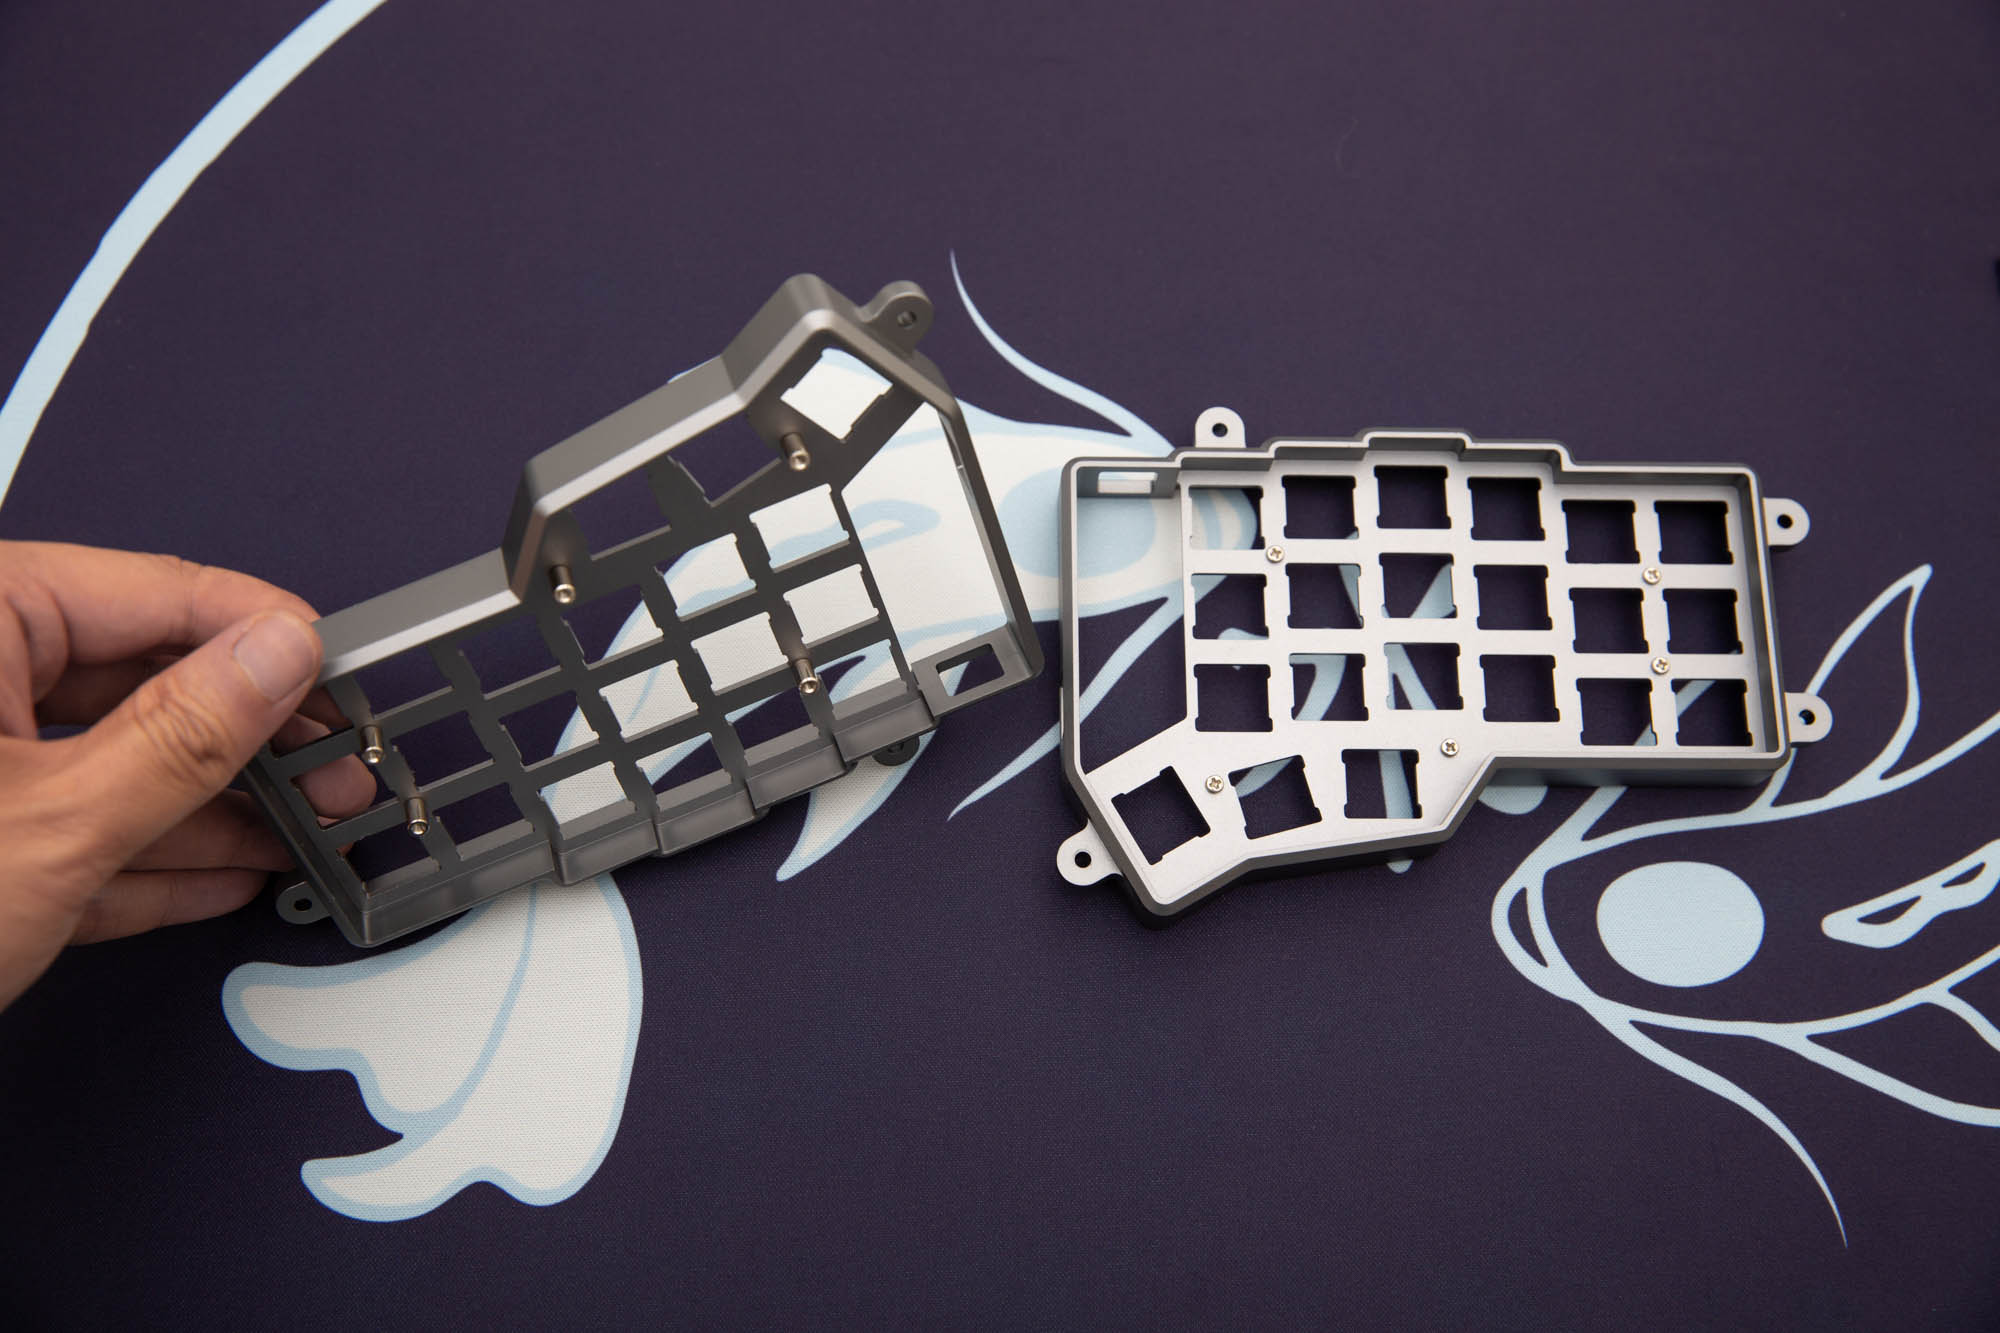
Install the ten PCB Standoffs as shown.
Step 2 - Install OLED Cover Standoffs
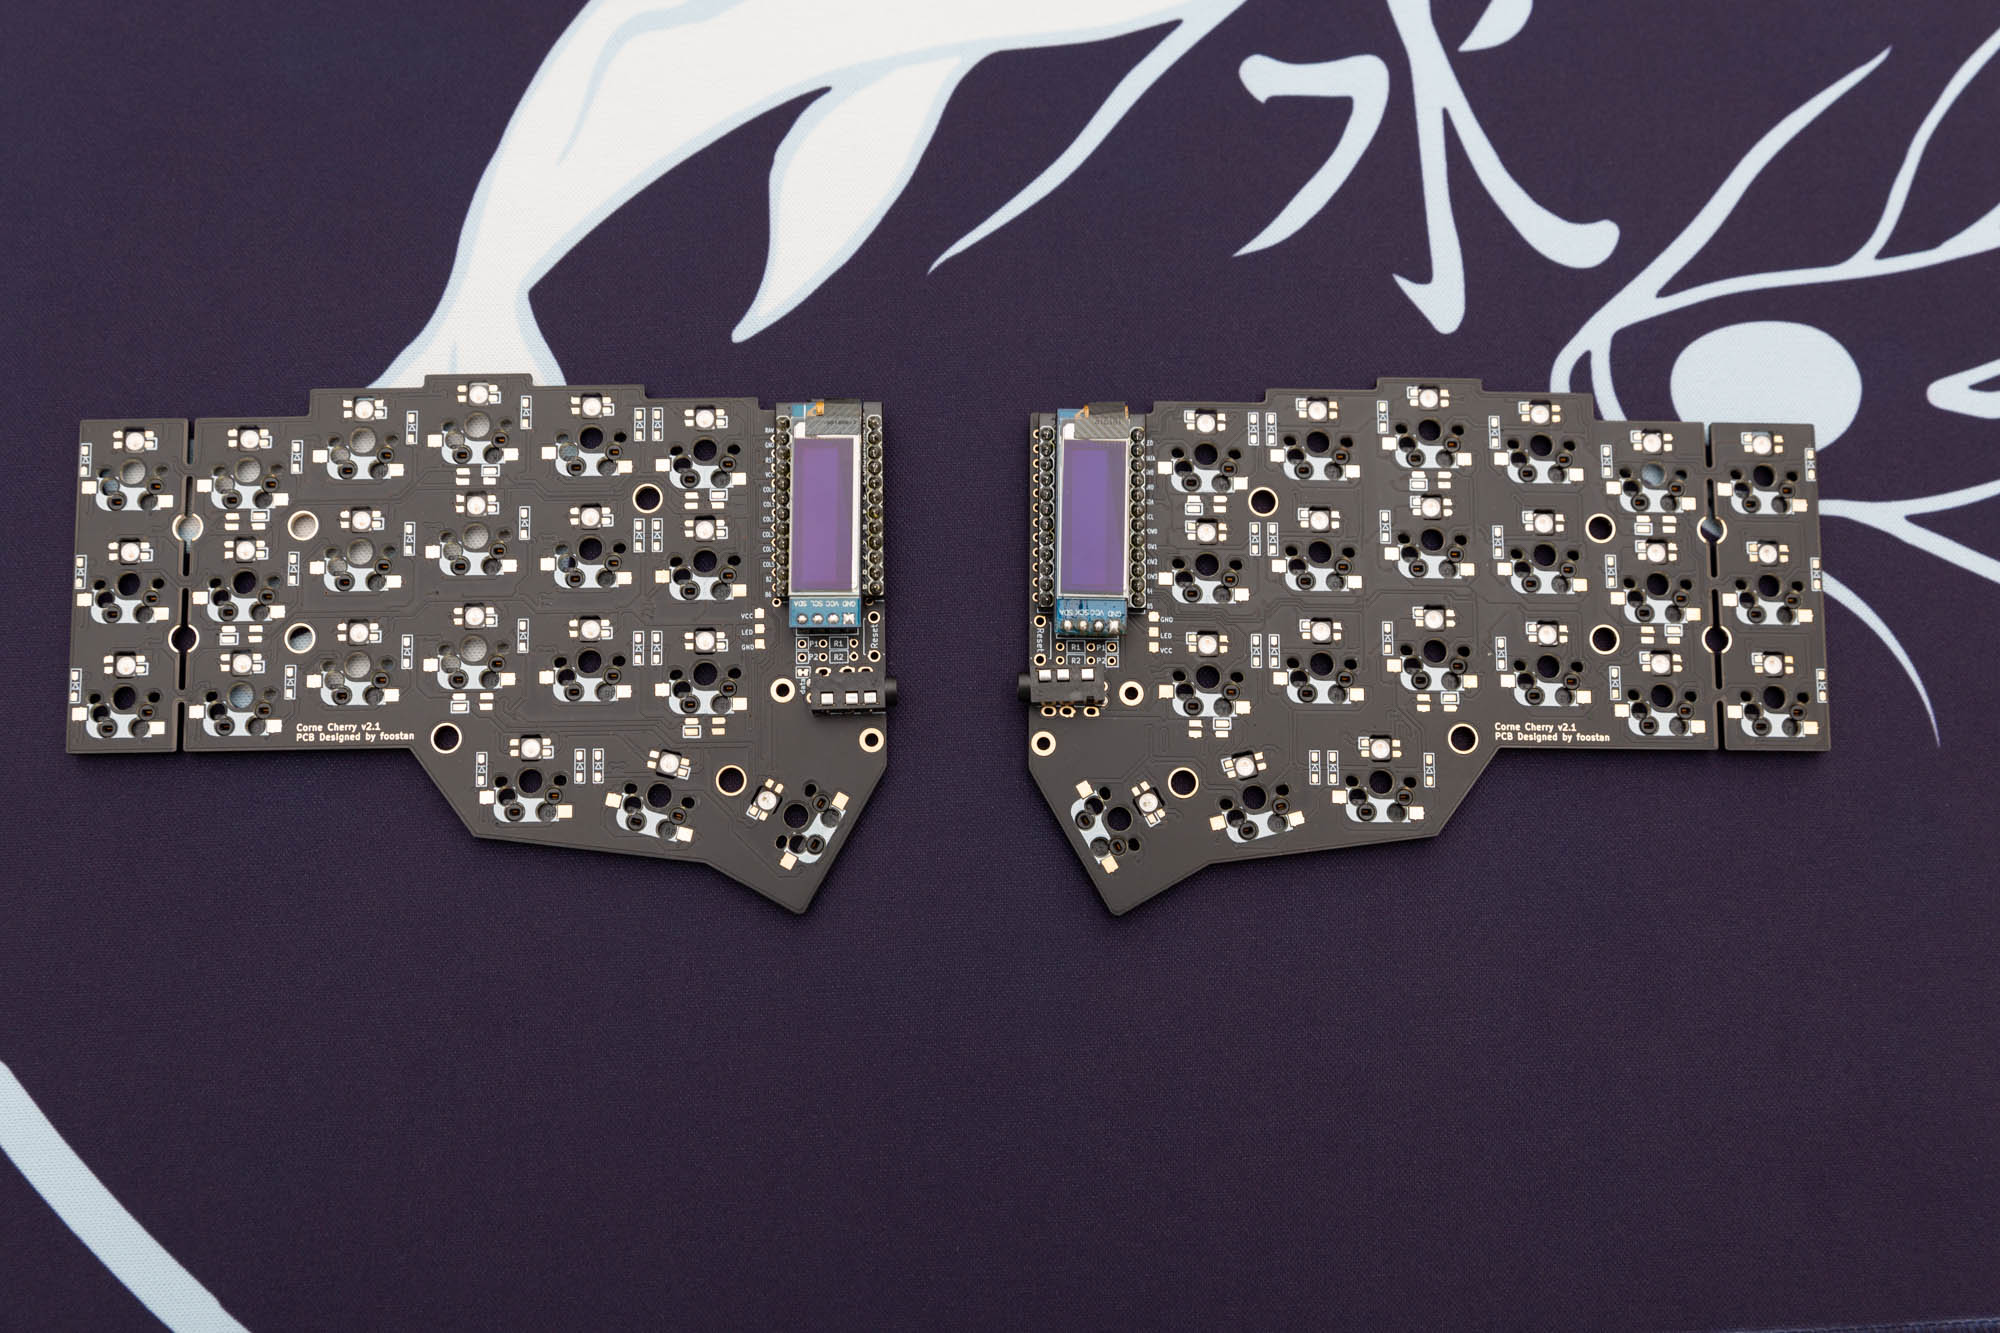
Pull out your completed Corne PCB.
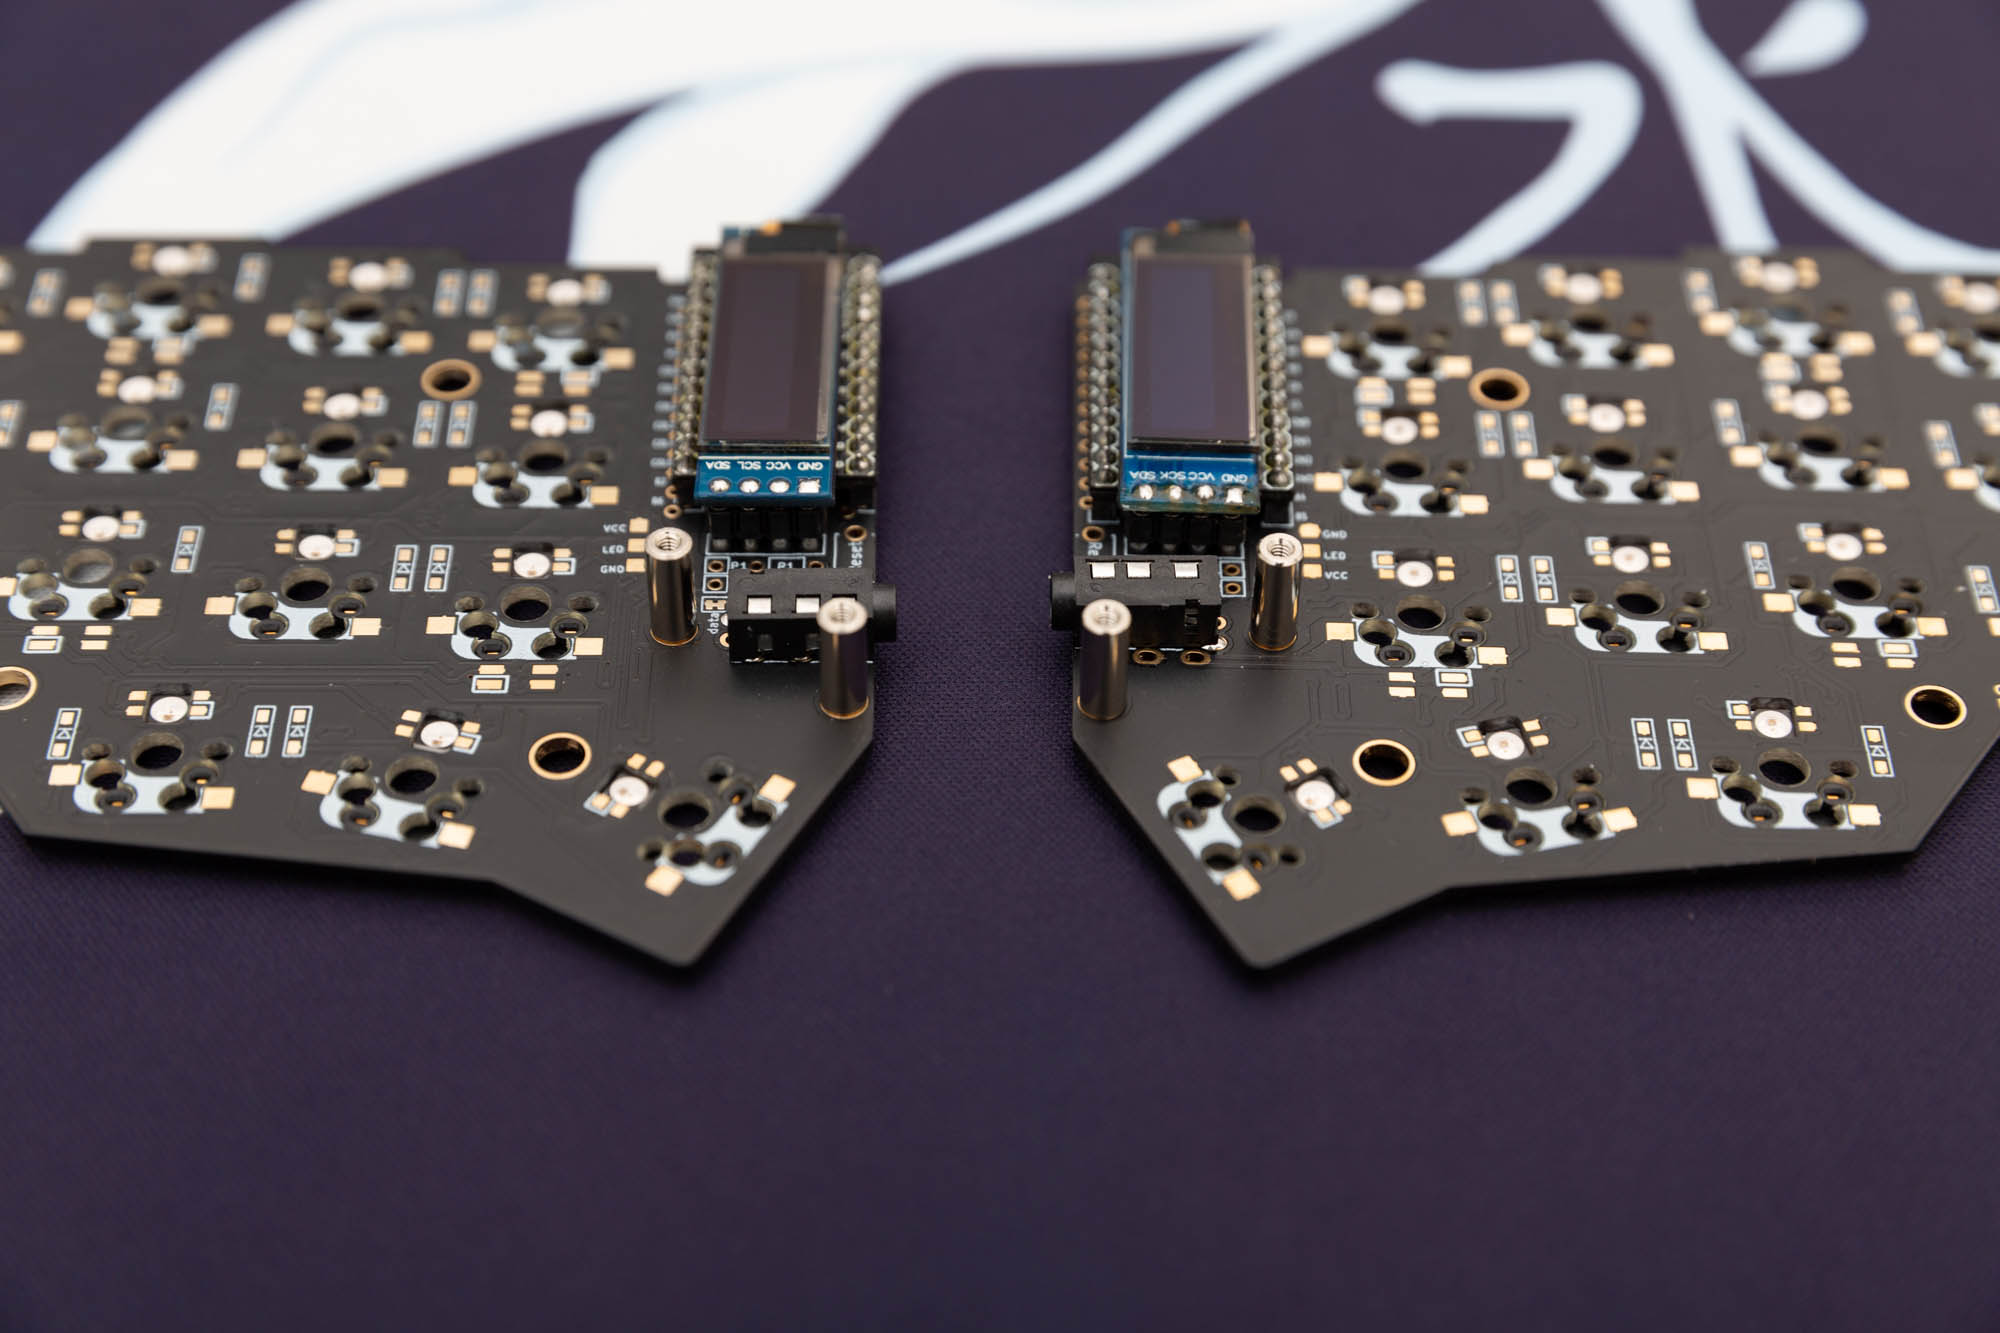
Install the taller silver OLED Cover Standoffs onto the Corne PCB as shown above.
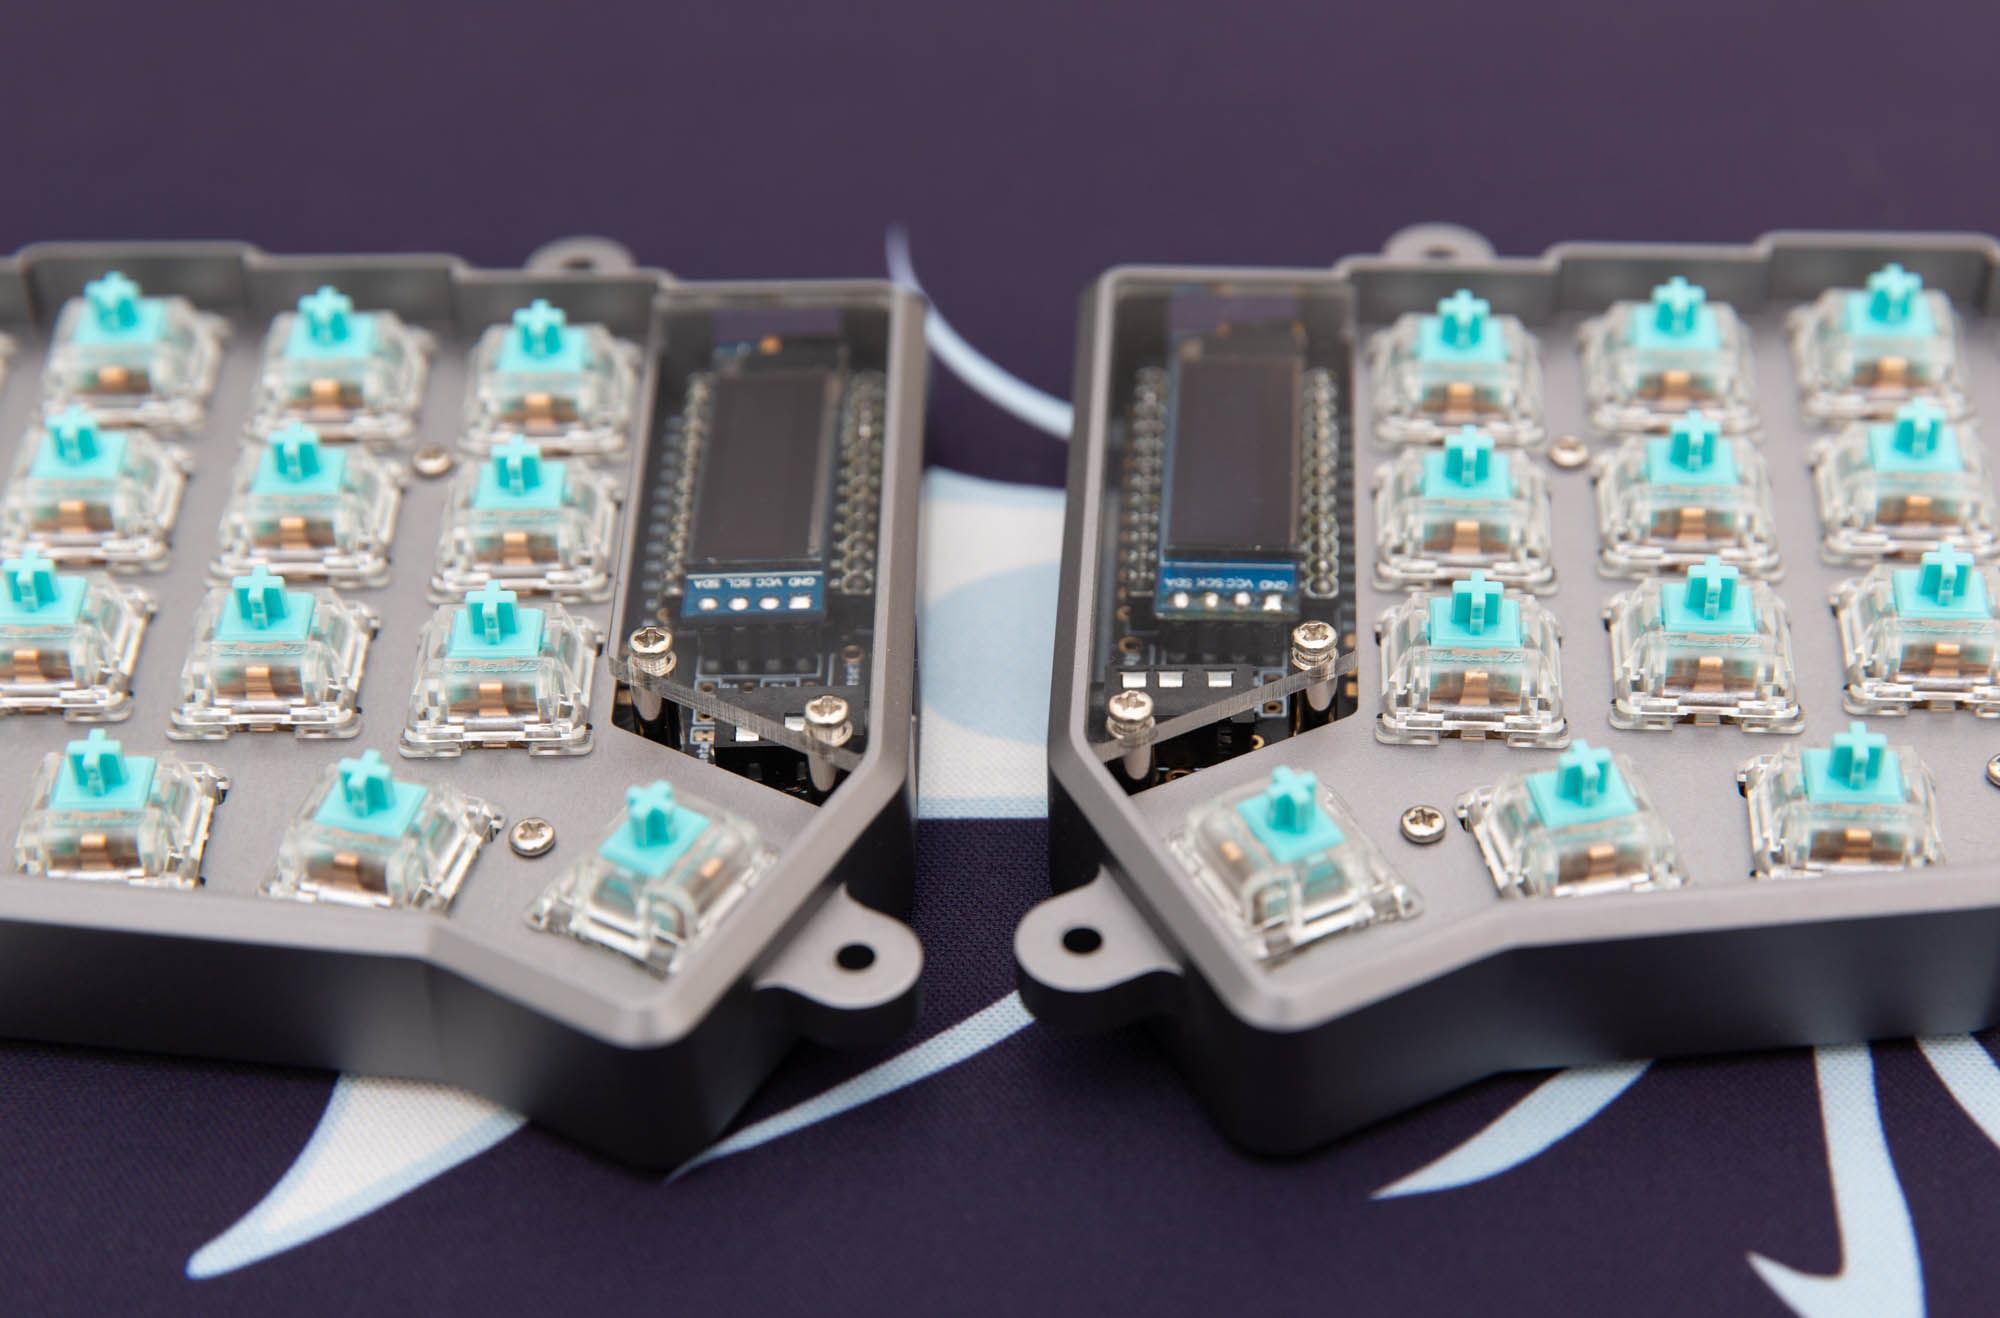
Step 3 - Install PCB into CNC Case
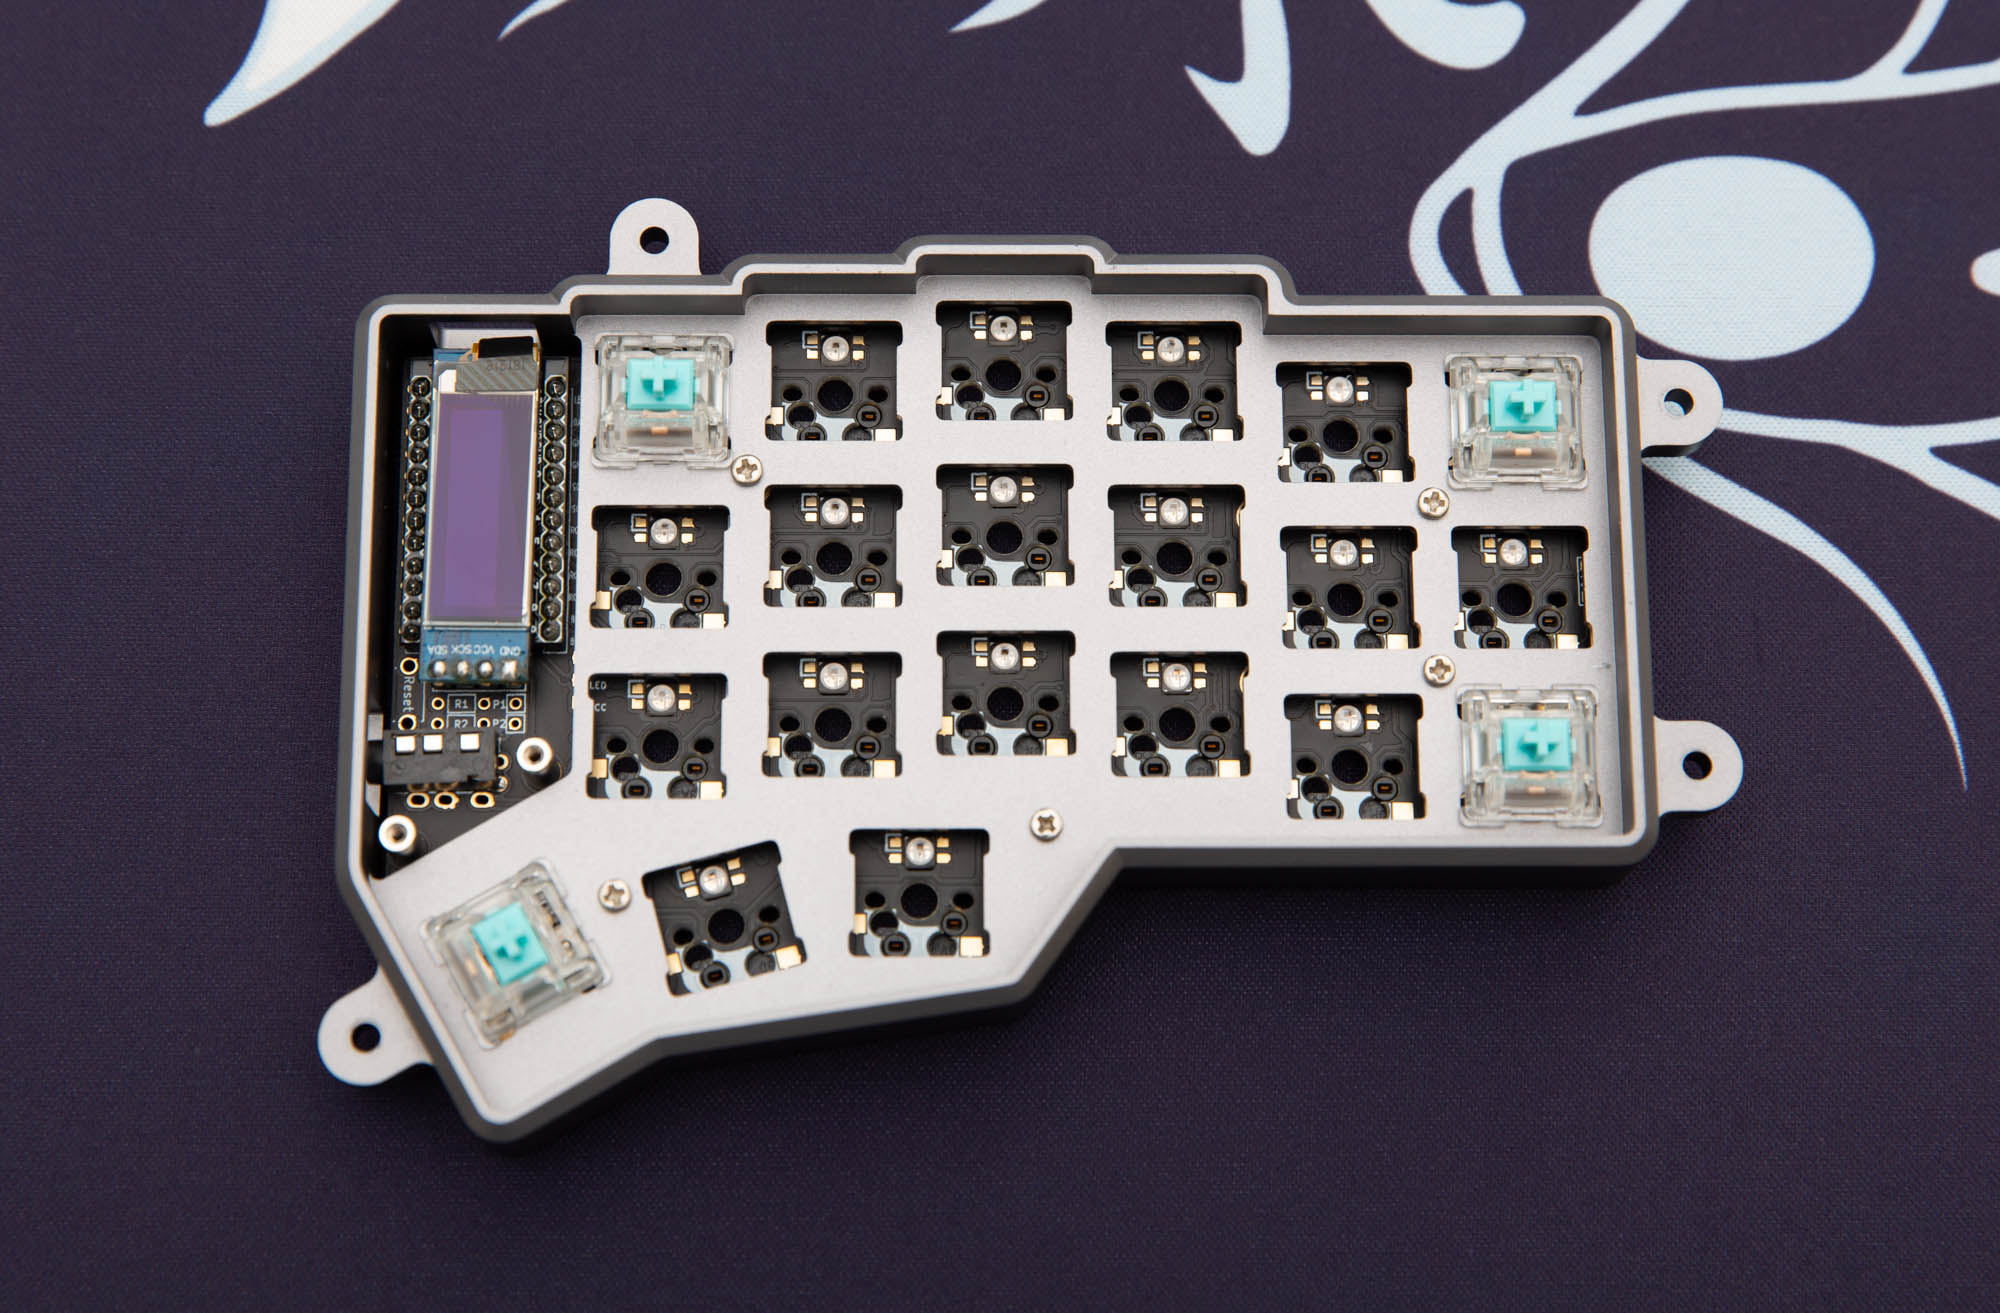
Insert the PCB underneath the CNC Case and use switches to hold the PCB in place around the four corners.
Once you have secured the PCB, continue to insert the rest of the switches in place. Take care not to bend the switch pins as you insert them. If you do, then remove the switch, bend the pins back straight and try again.
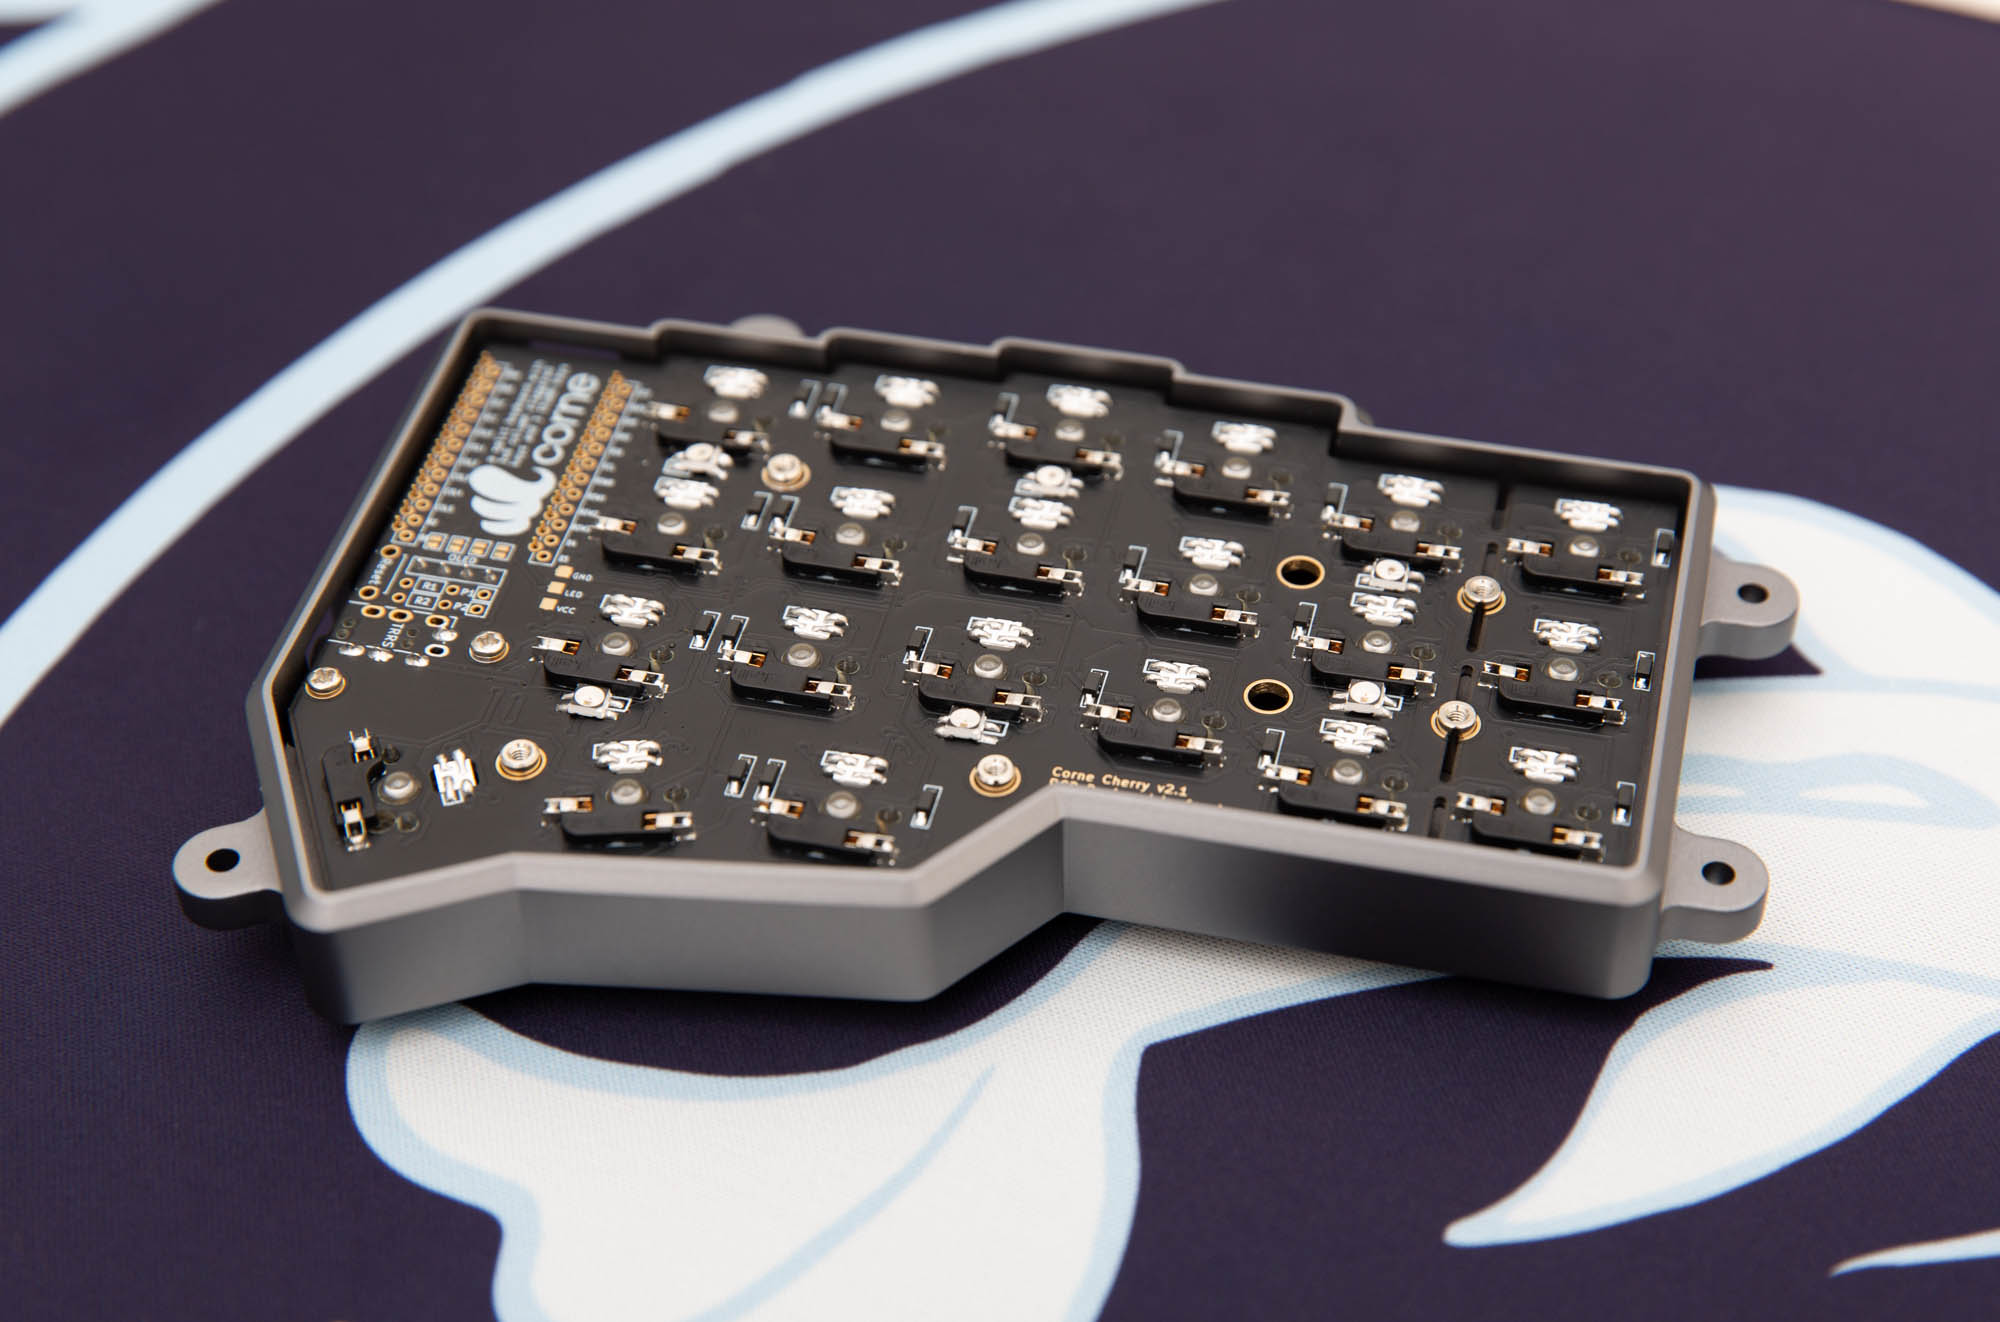
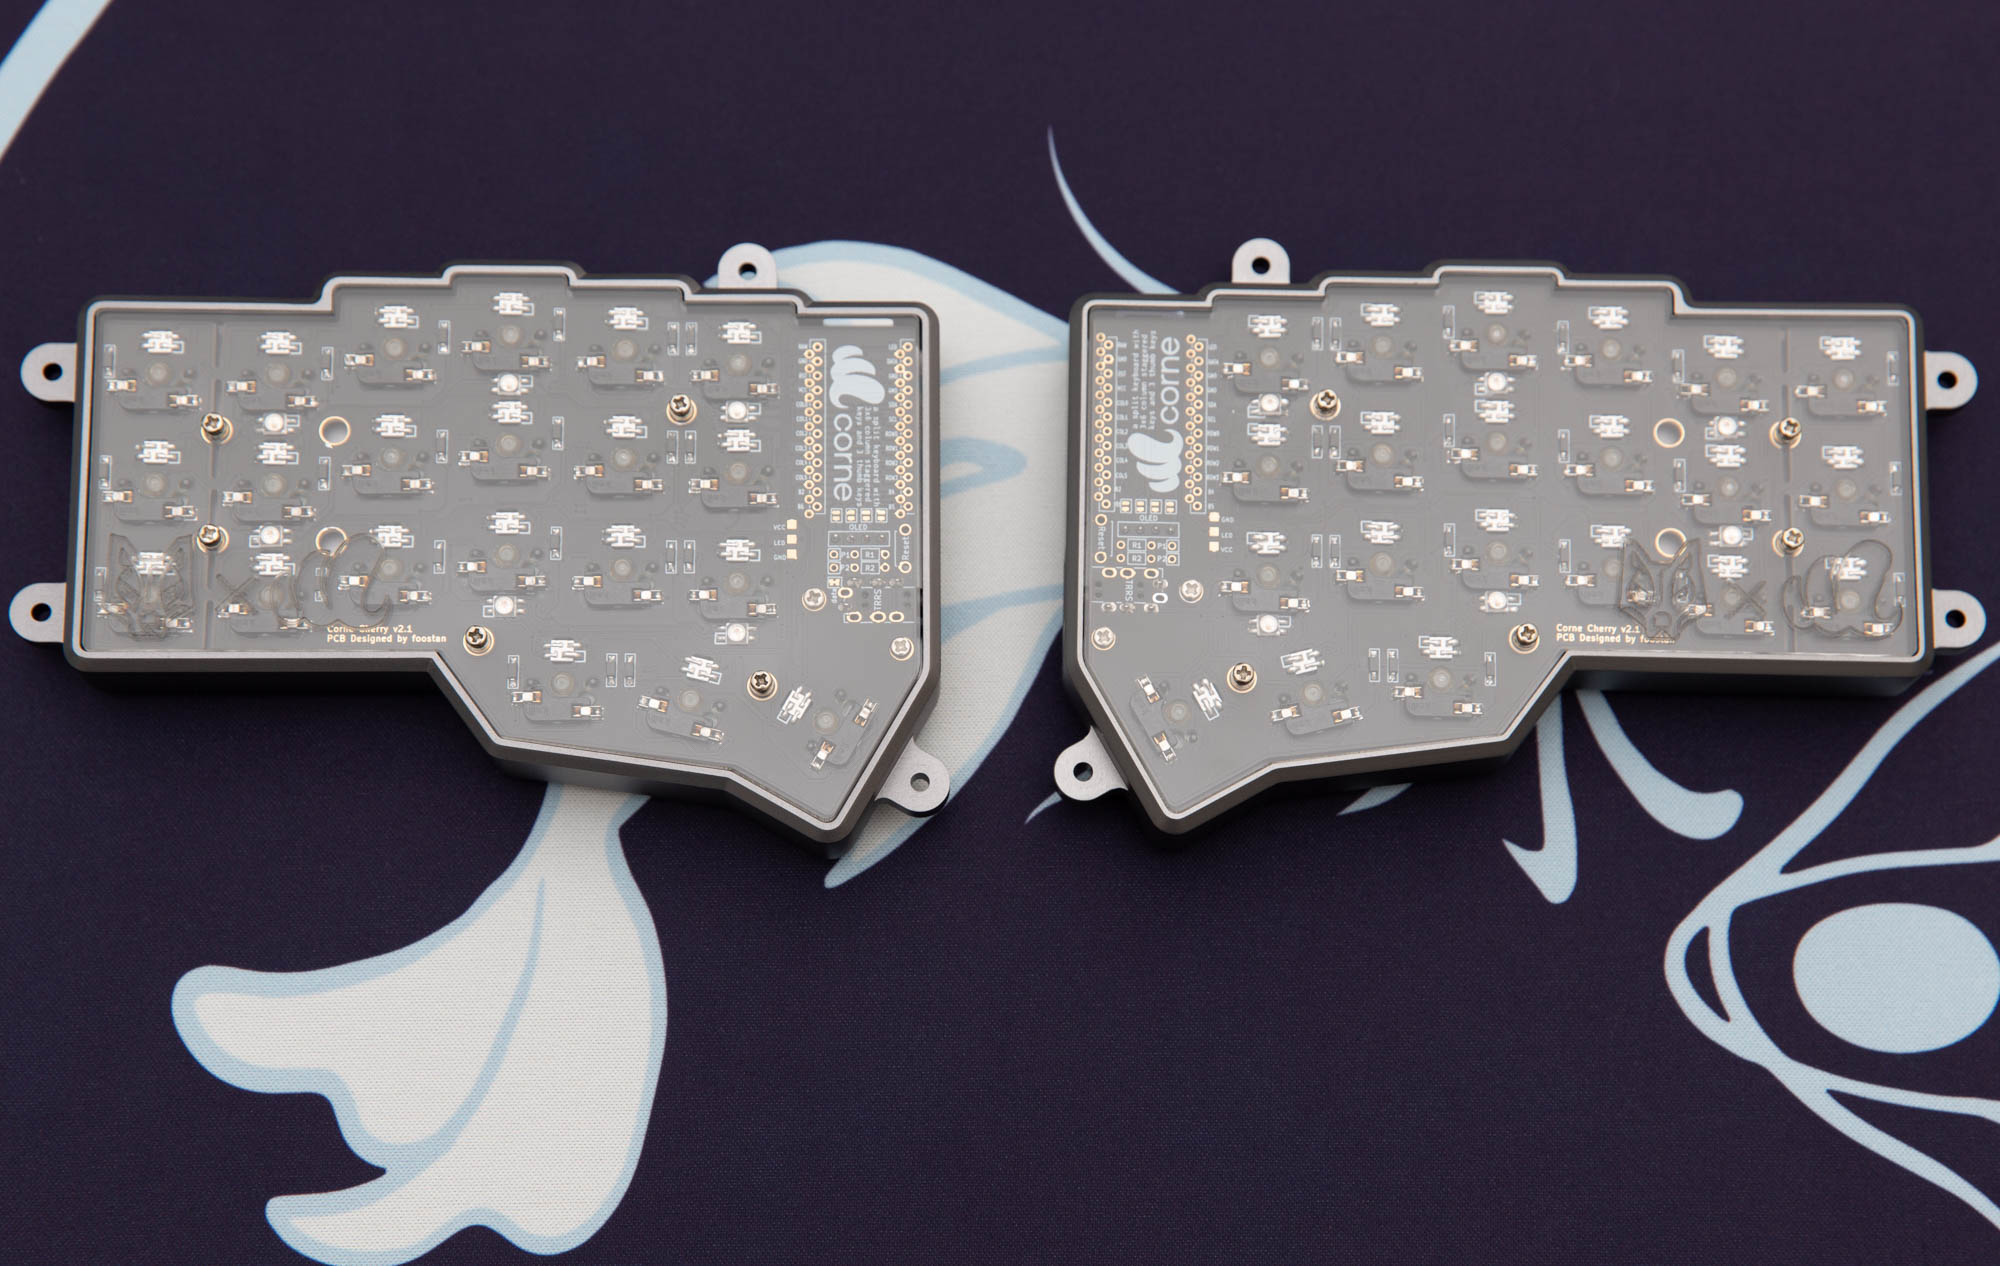
The bottom should look like this.
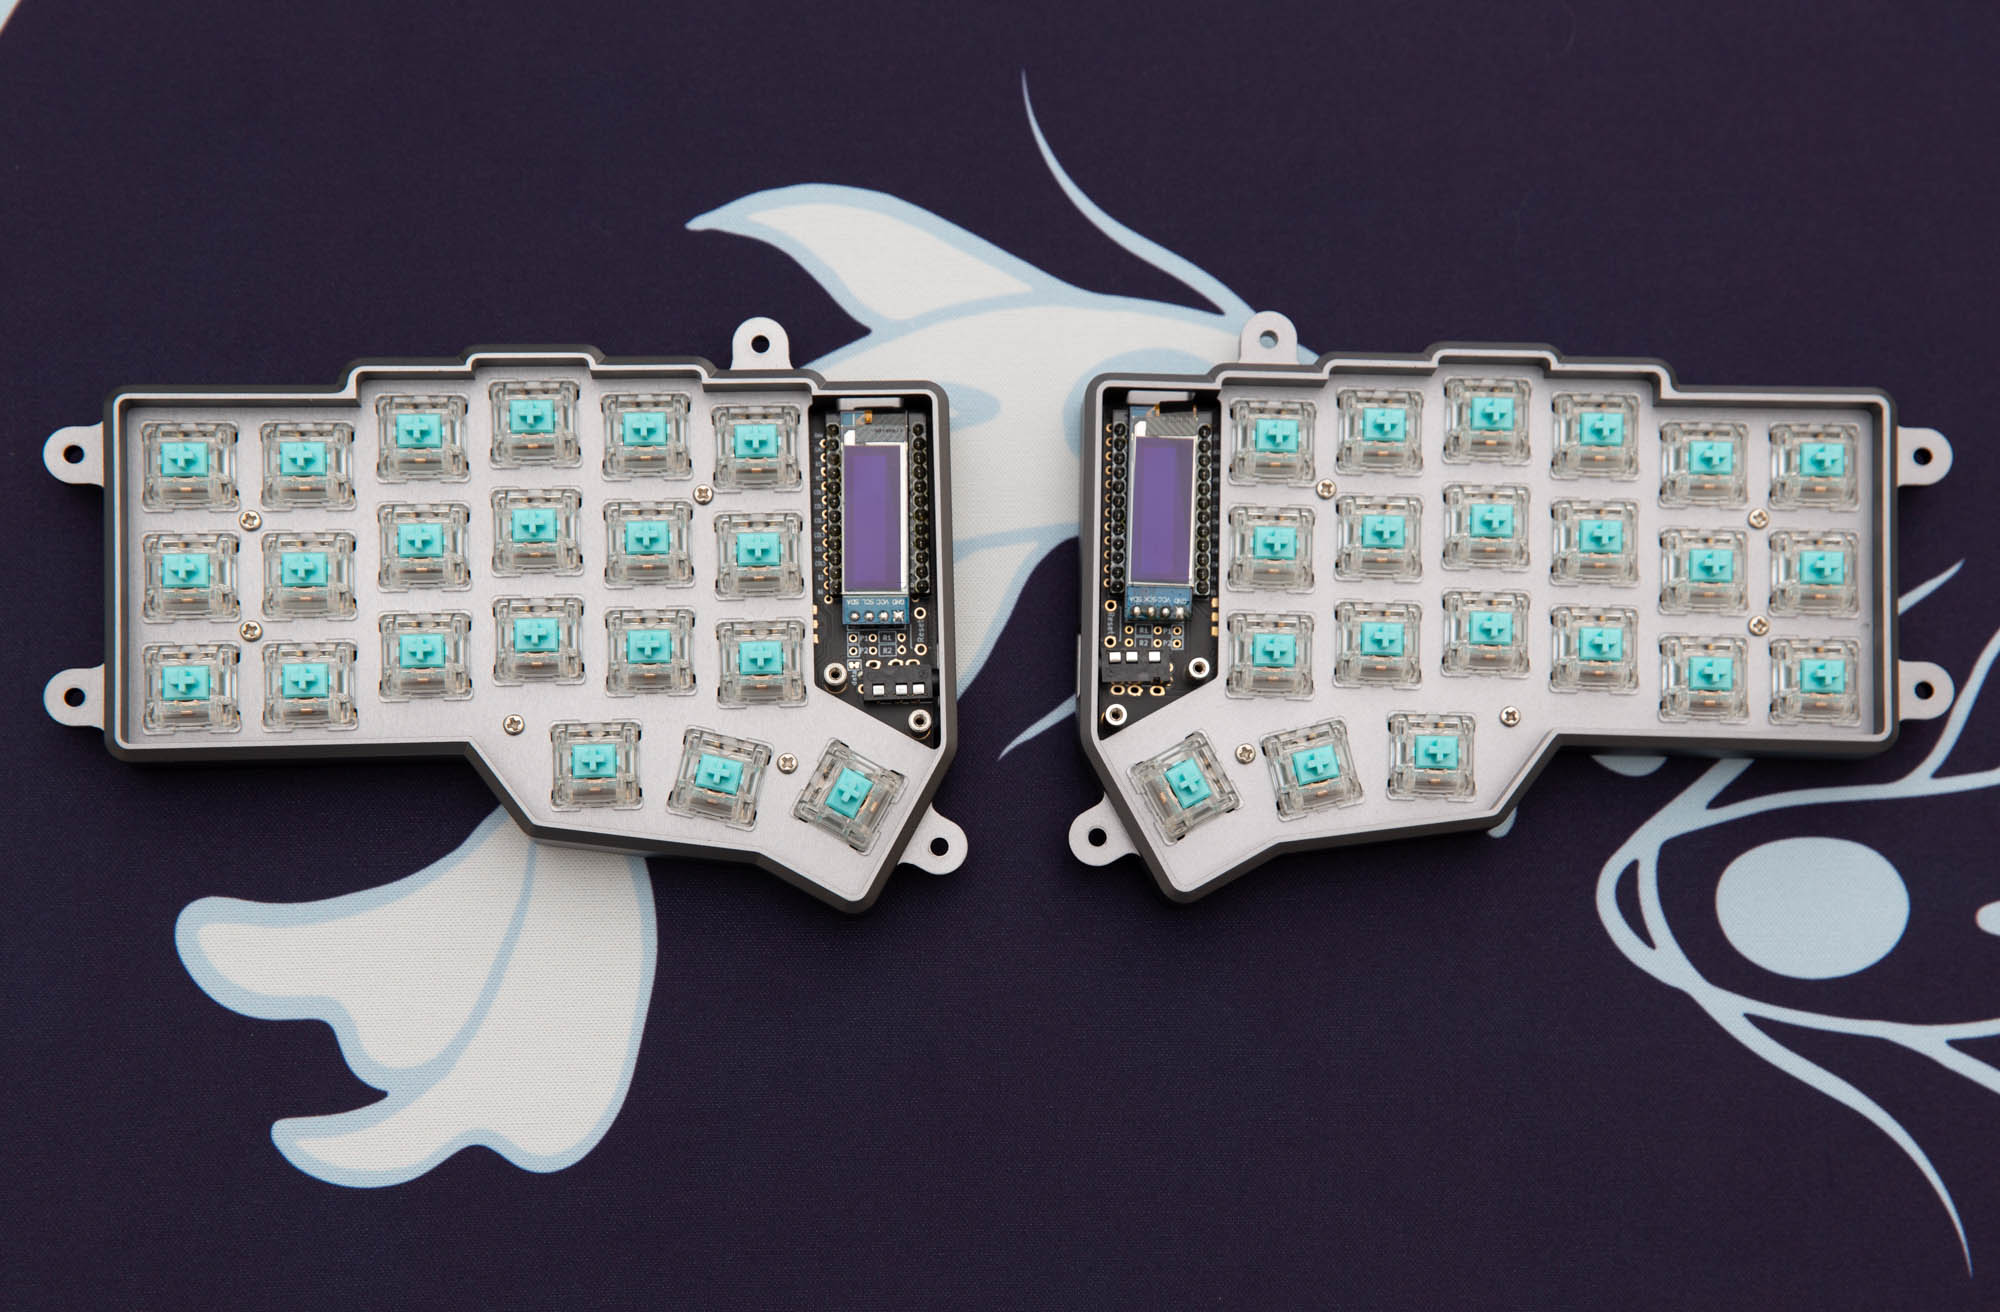
Step 4 - Install Acrylic Covers
Install the acrylic OLED covers as shown.
Then install the bottom acrylic covers.
Step 5 - Install M3 Tenting Screws
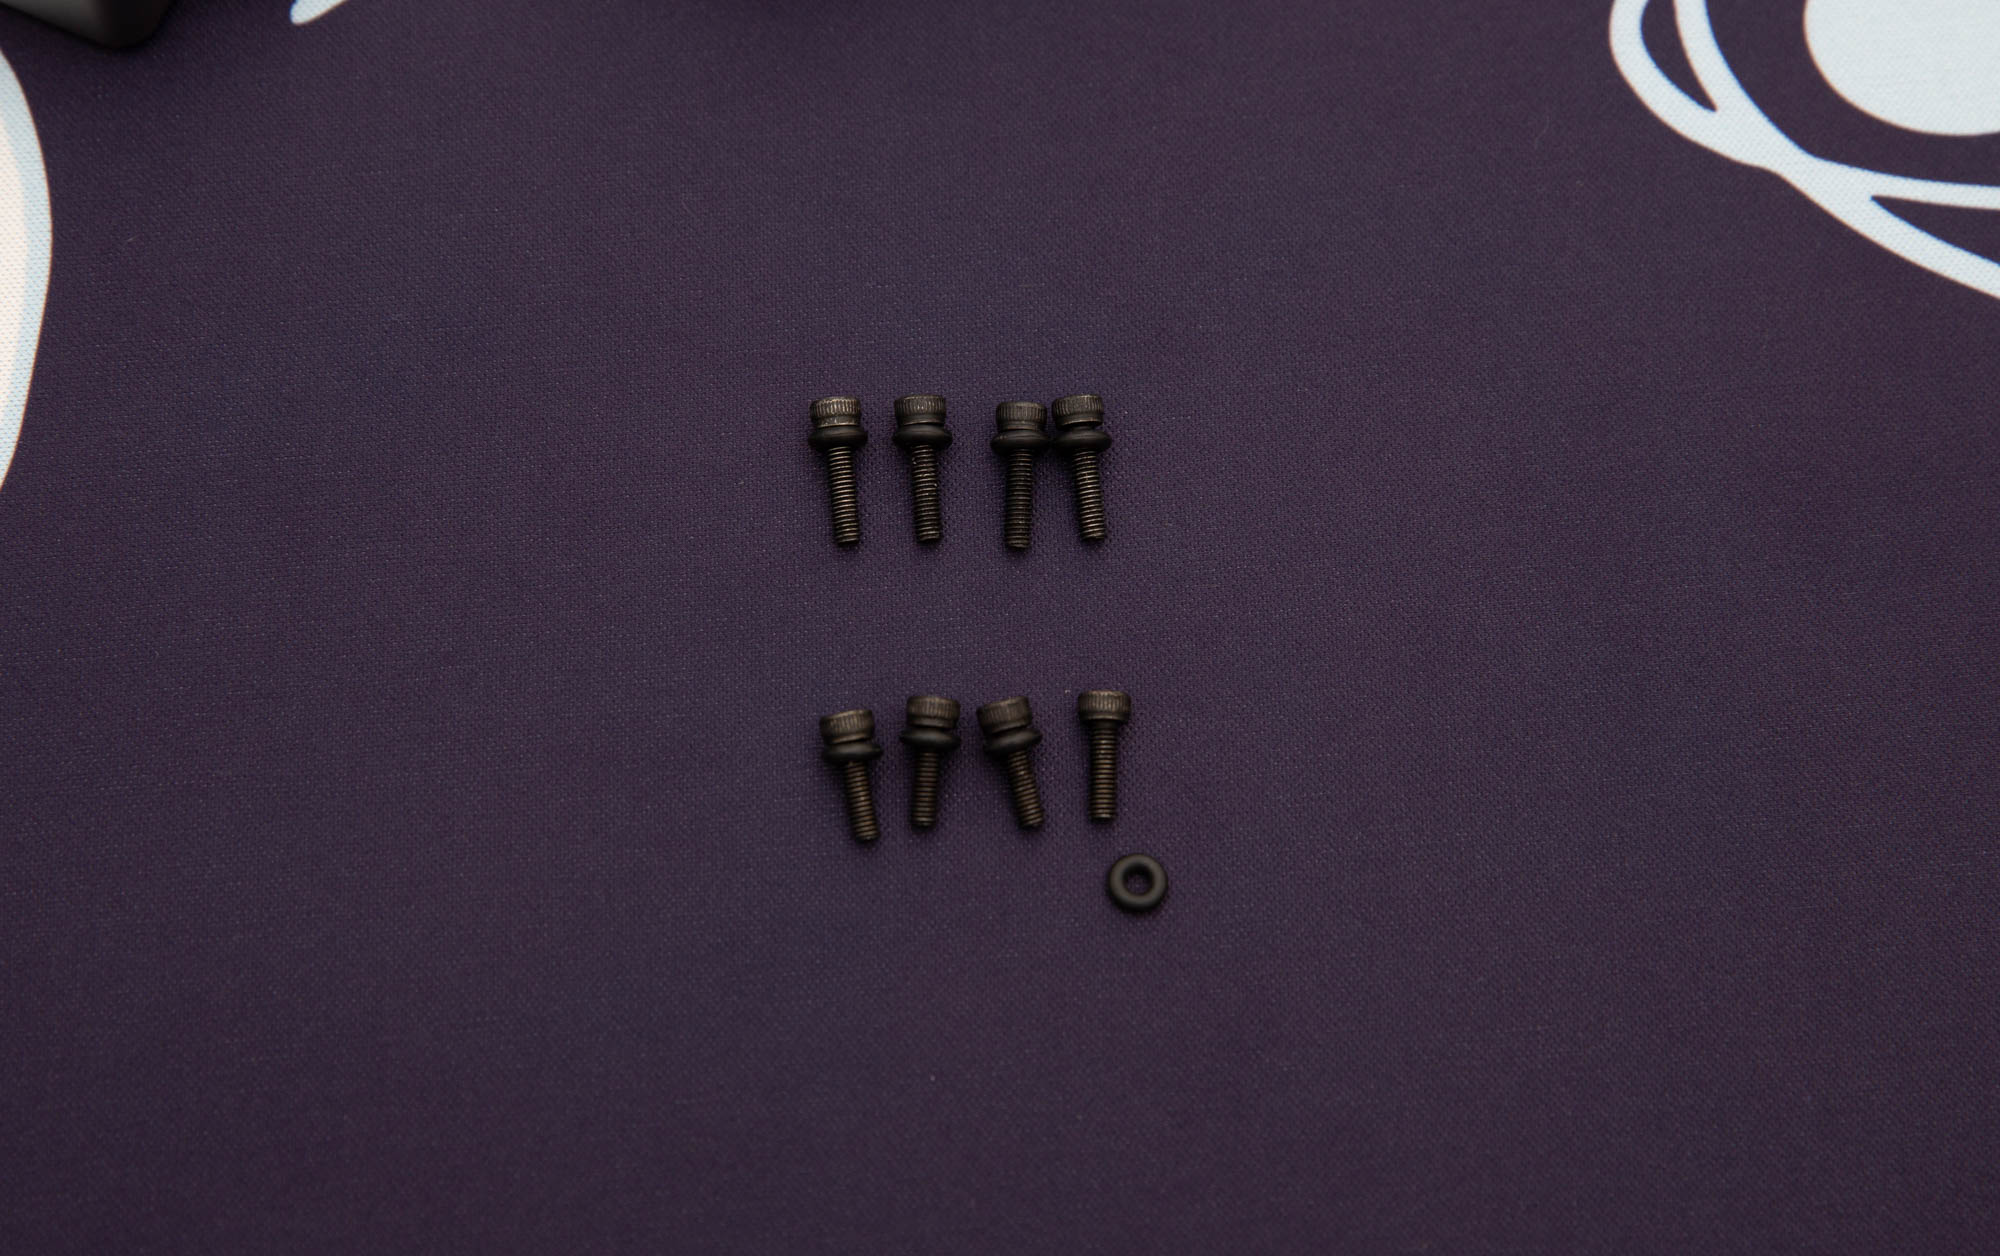
Add rubber o-rings to each of the M3 tenting screws (both long and short).
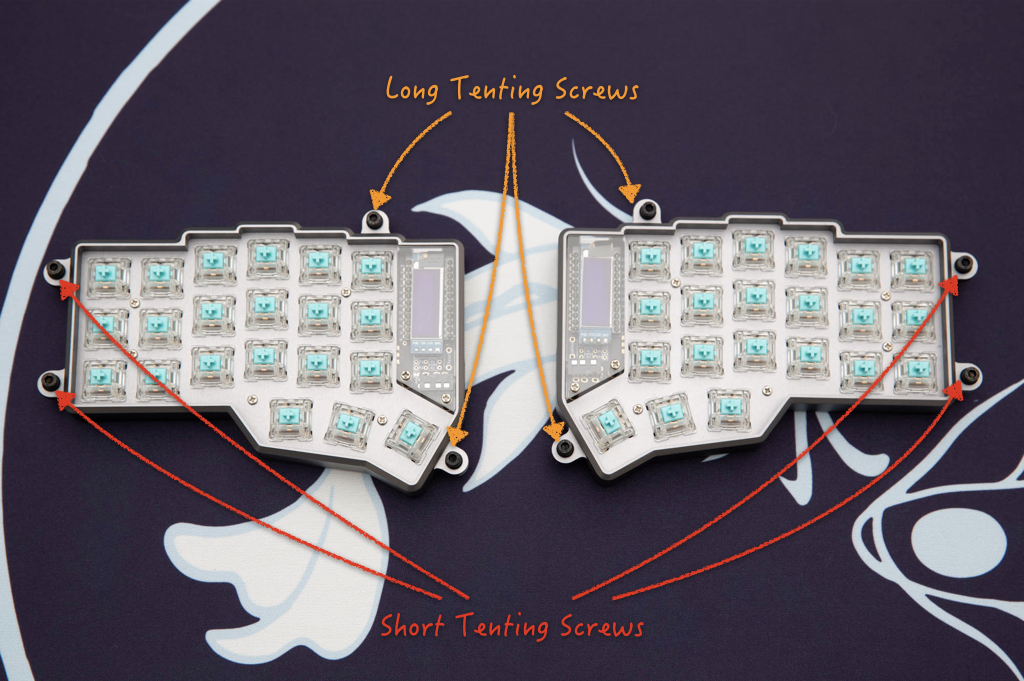
Place the tenting screws as illustrated.
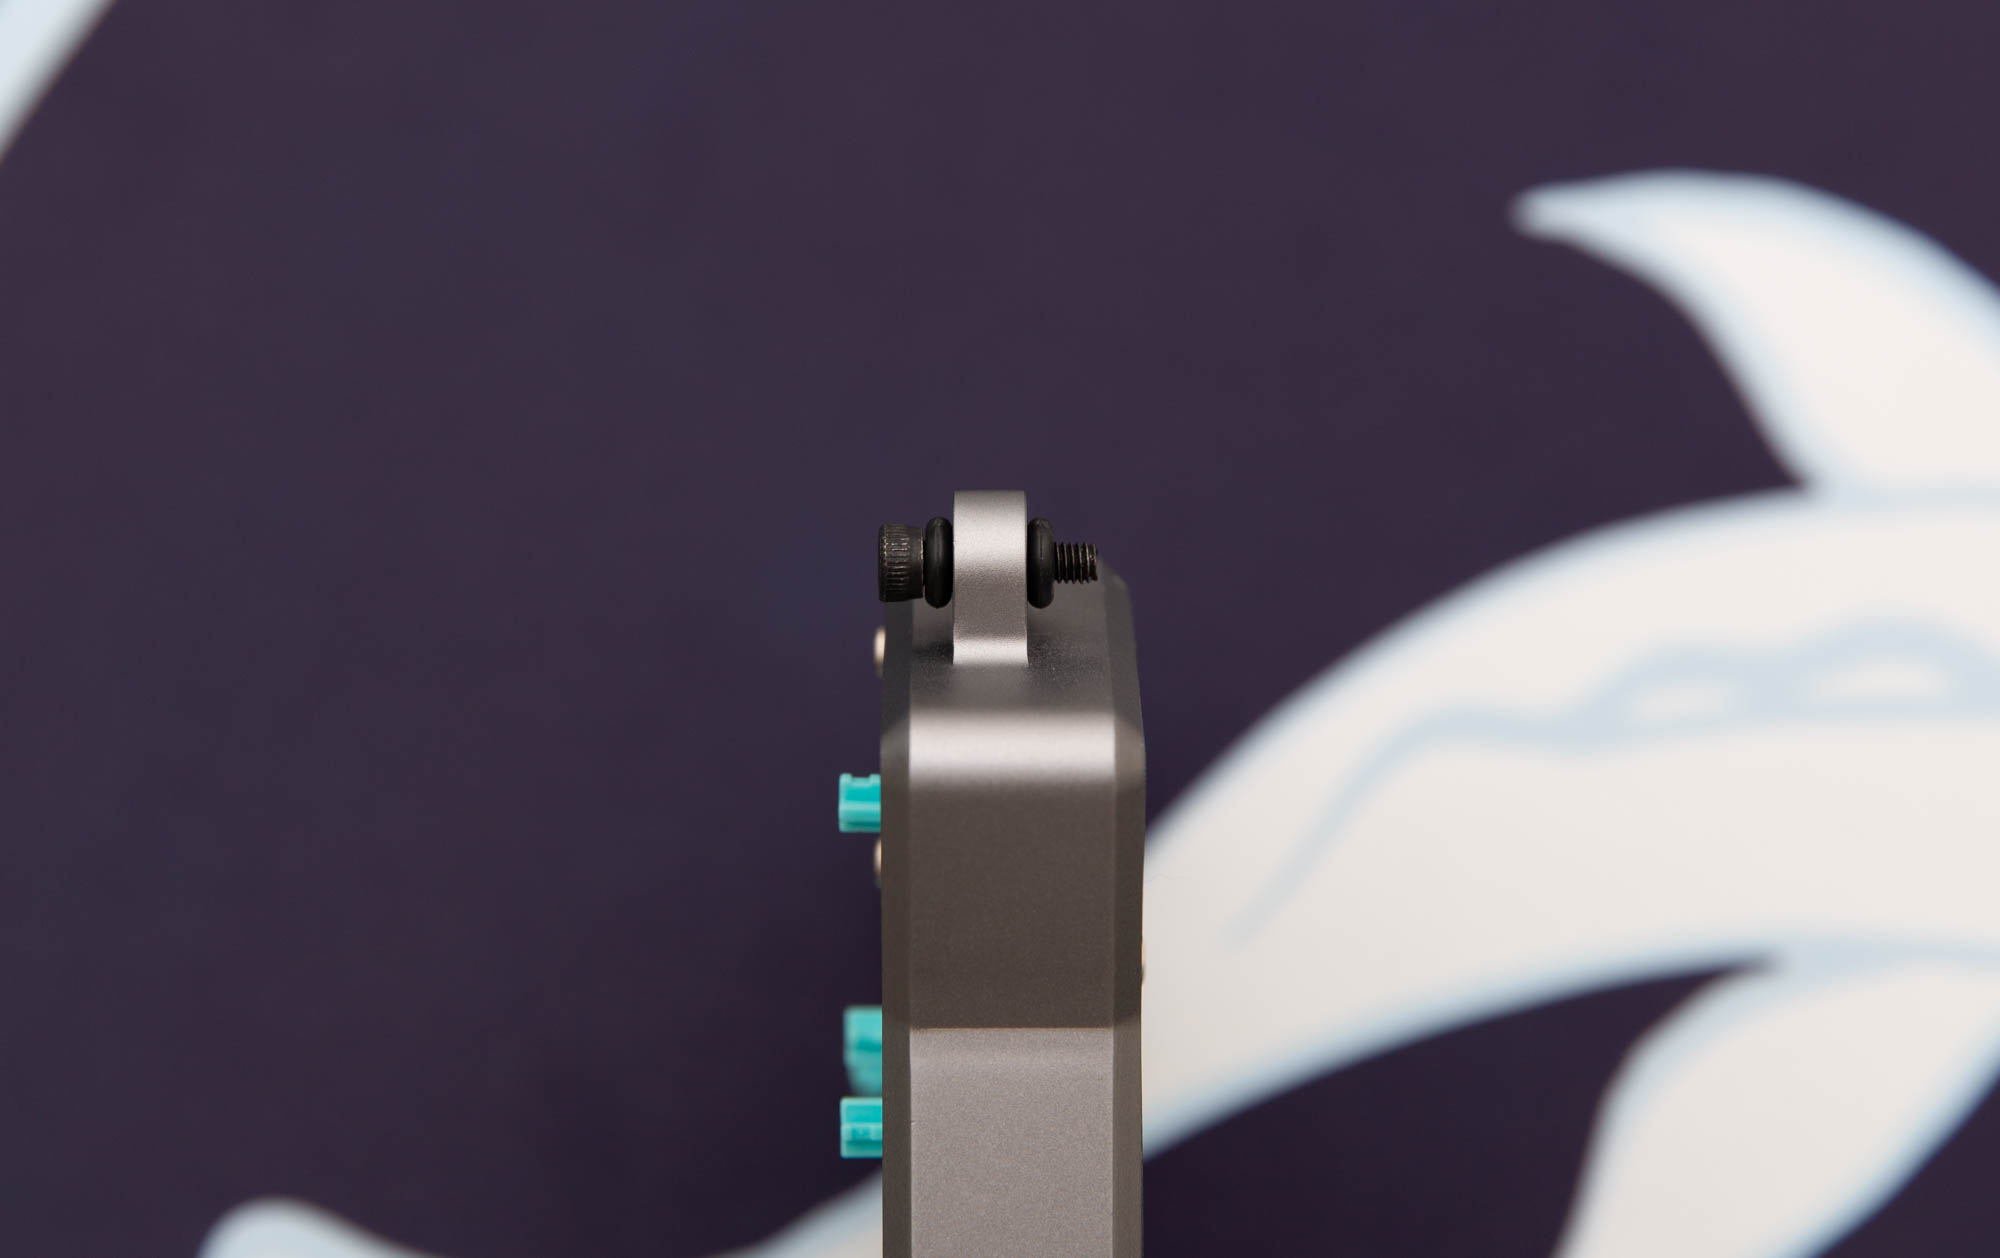
Next, add a second rubber o-ring to be bottom of each of the eight tenting screws. This will add an extra layer of shock absorption as you type. Feel free to remove the rubber o-rings based on your preference.
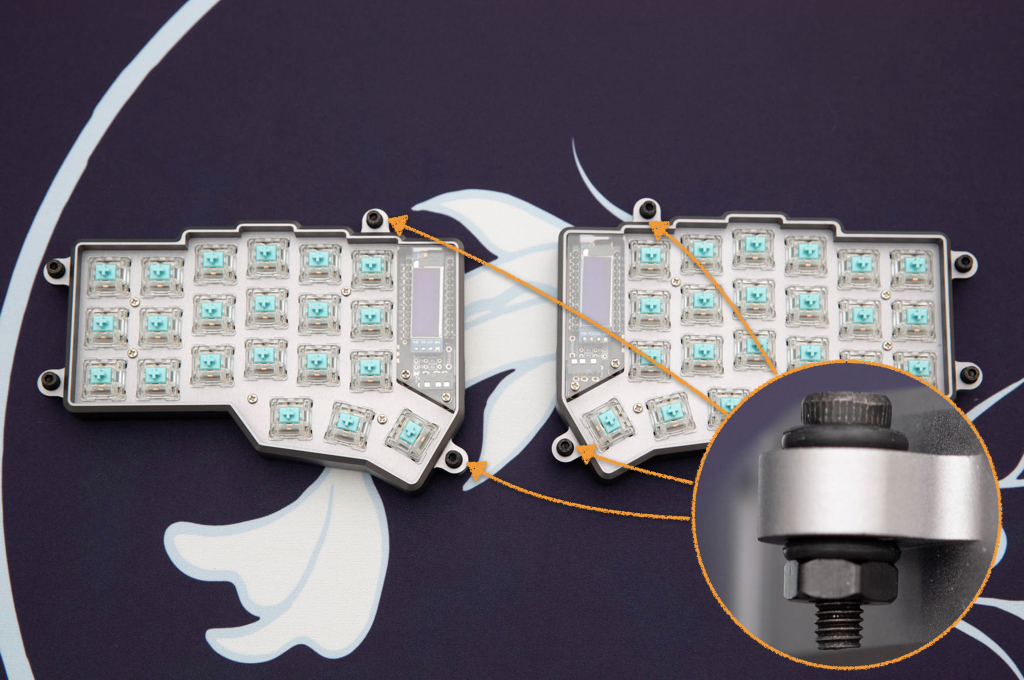
Secure the four inner tenting screws with the hex nuts. This will allow you to remove the tenting legs for travel while keeping the tenting screws in place.
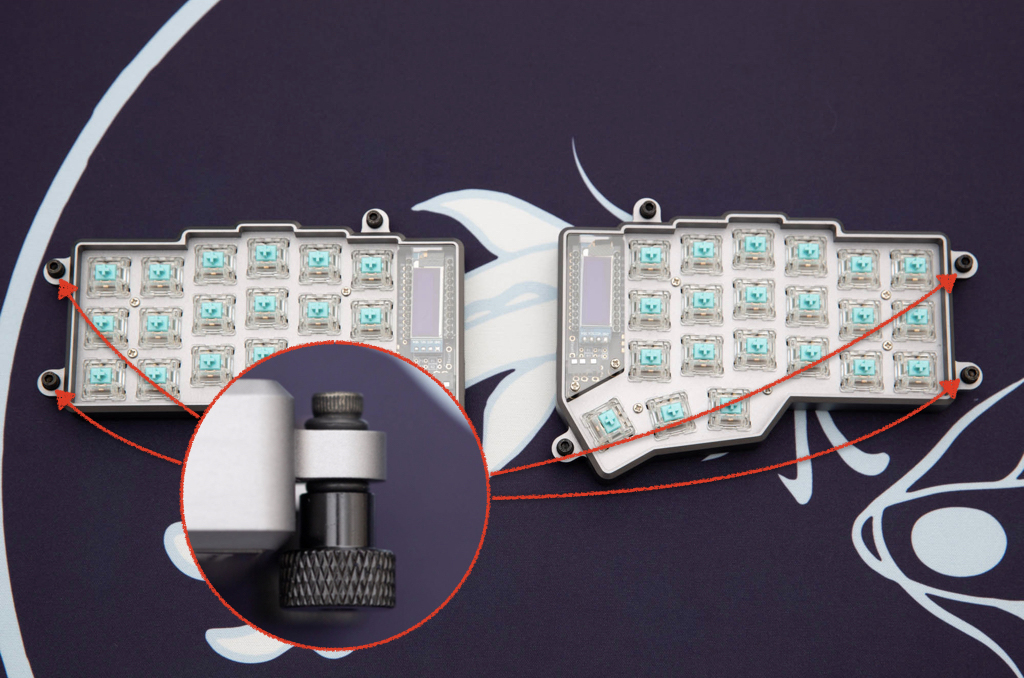
Finally, secure the four outter tenting screws with the thumb tightening nuts.
Step 6 - Assemble tenting legs
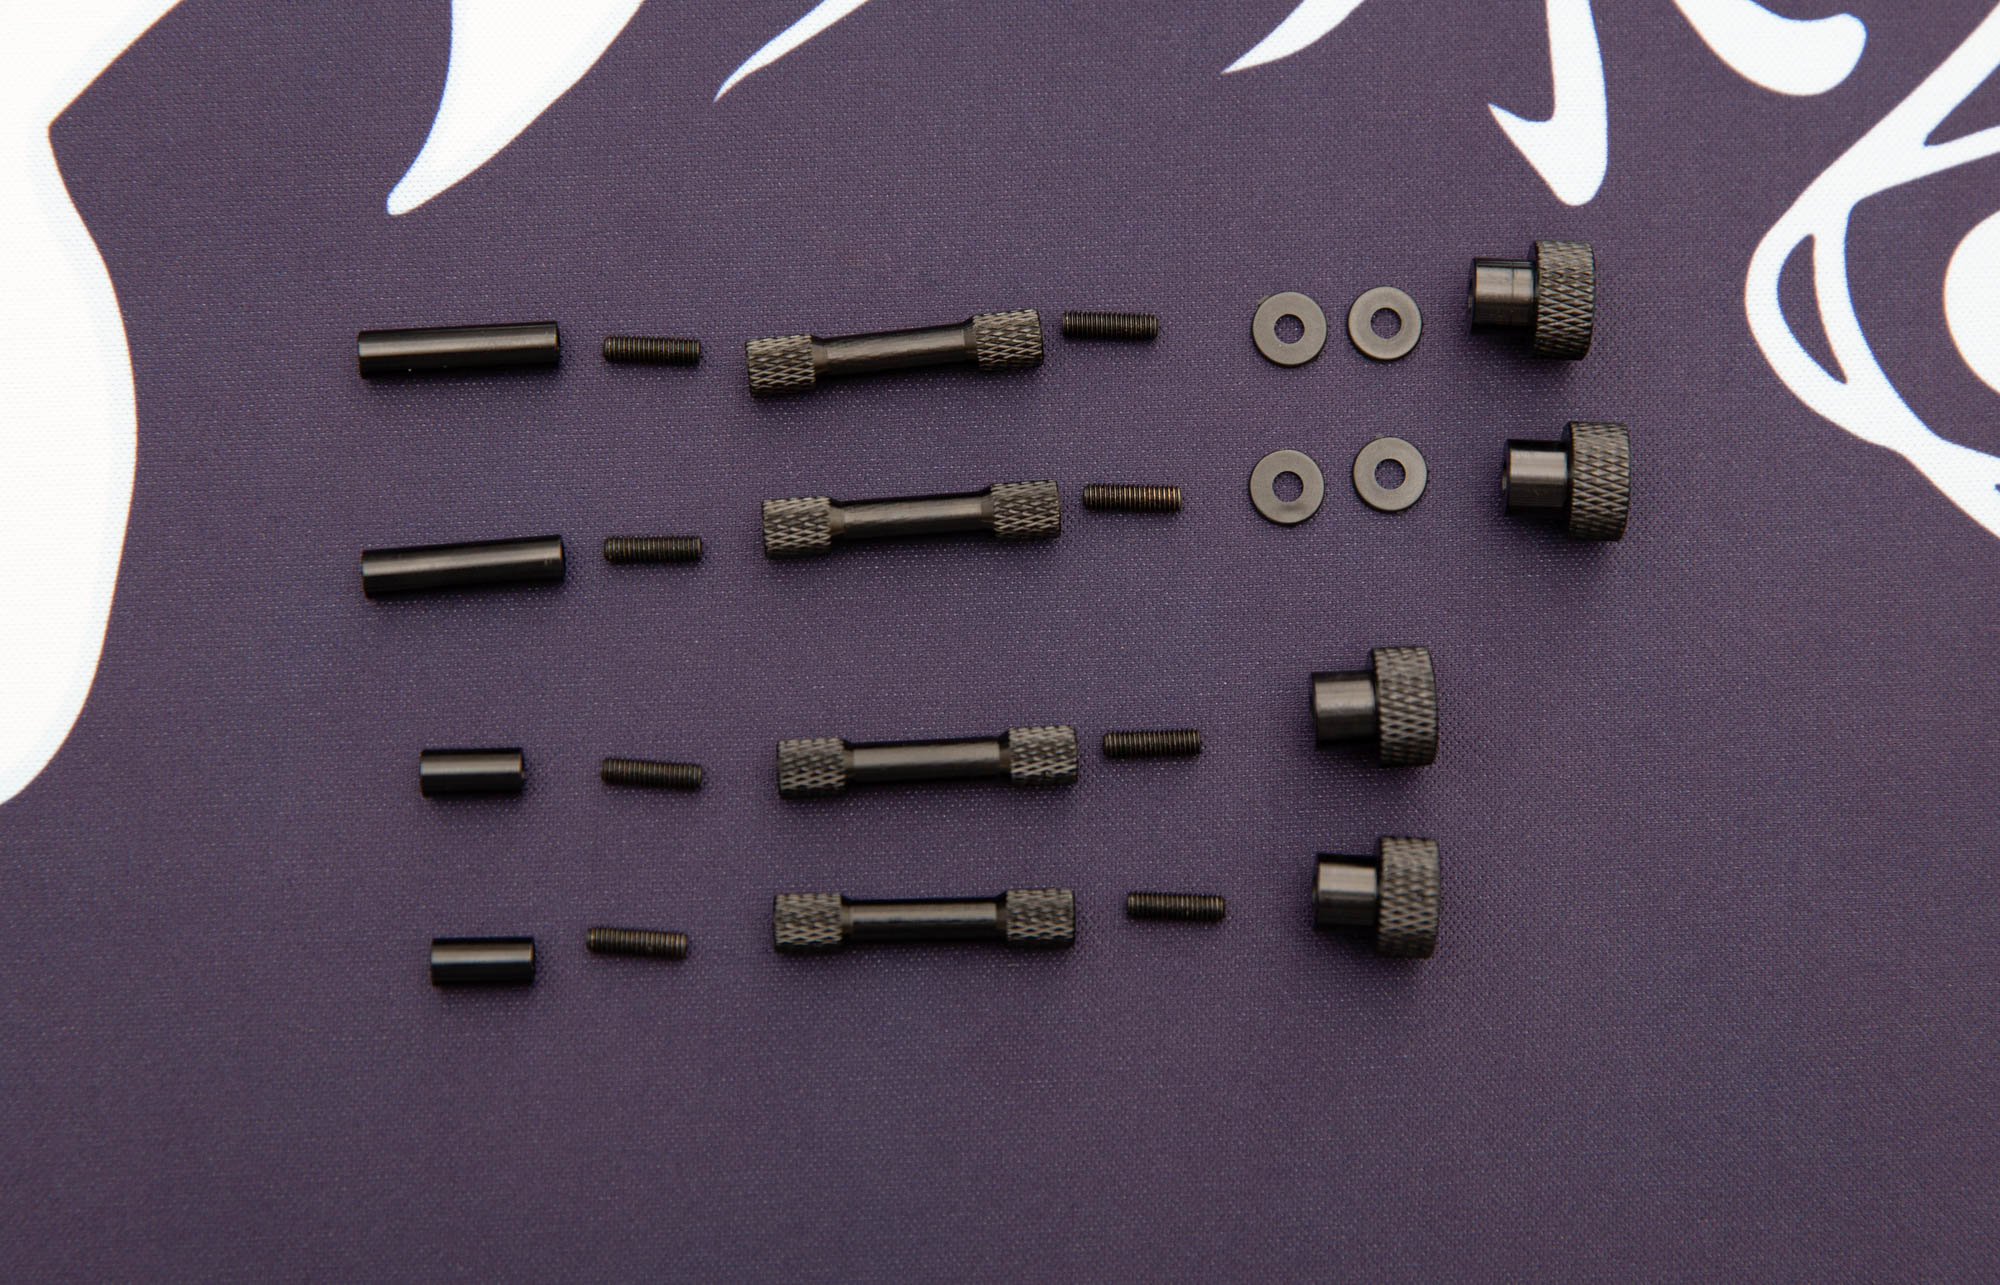
We will be creating two longer and two shorter tenting legs. You can fine tune and adjust to your liking by adding / removing / swapping segments.
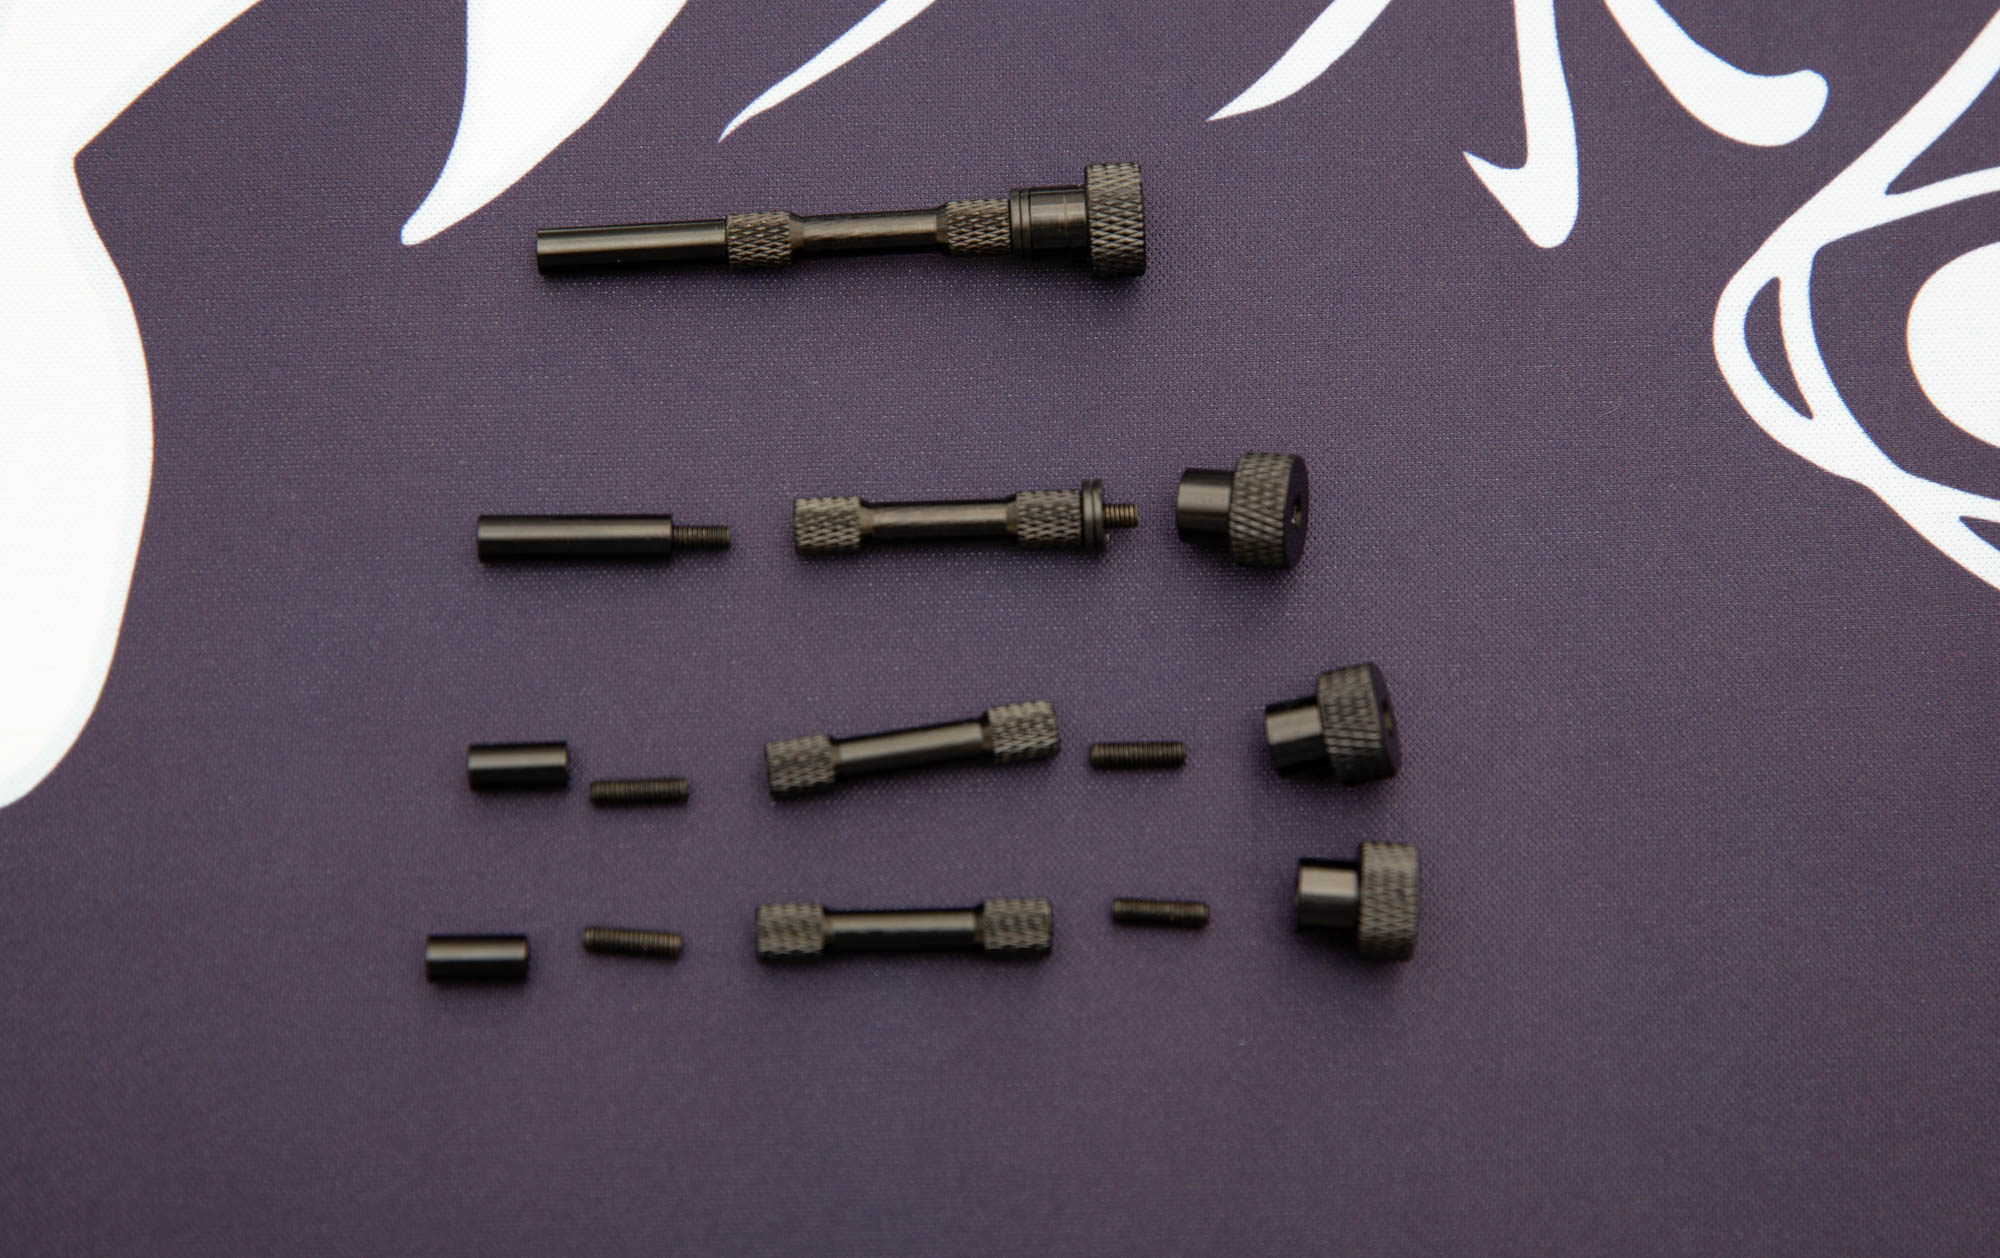
Join each of the pieces together using the joining screws.
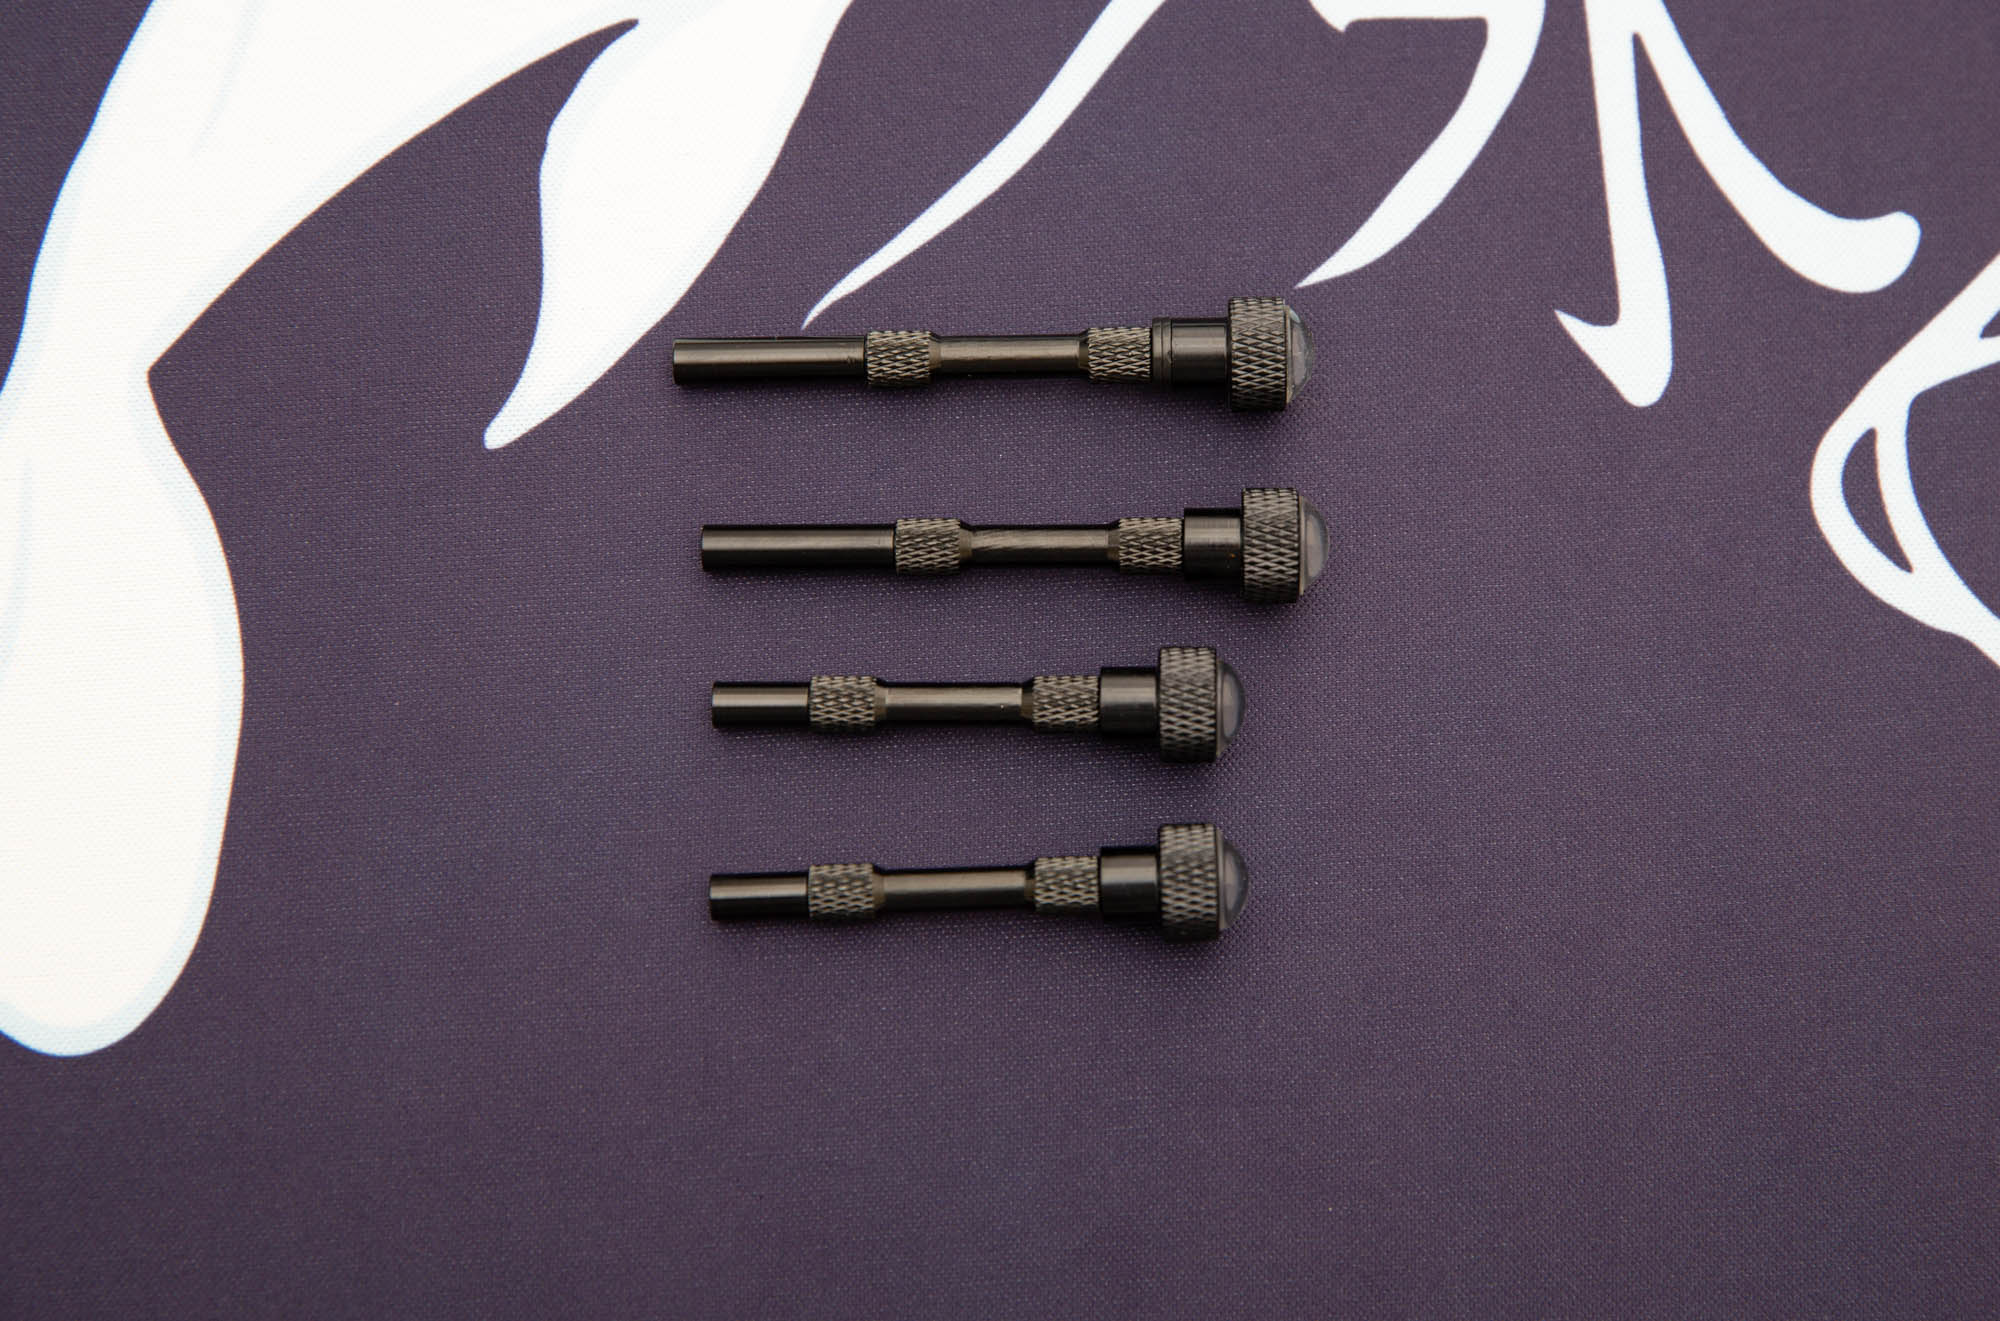
The default configuration used by @imkulio looks like this.
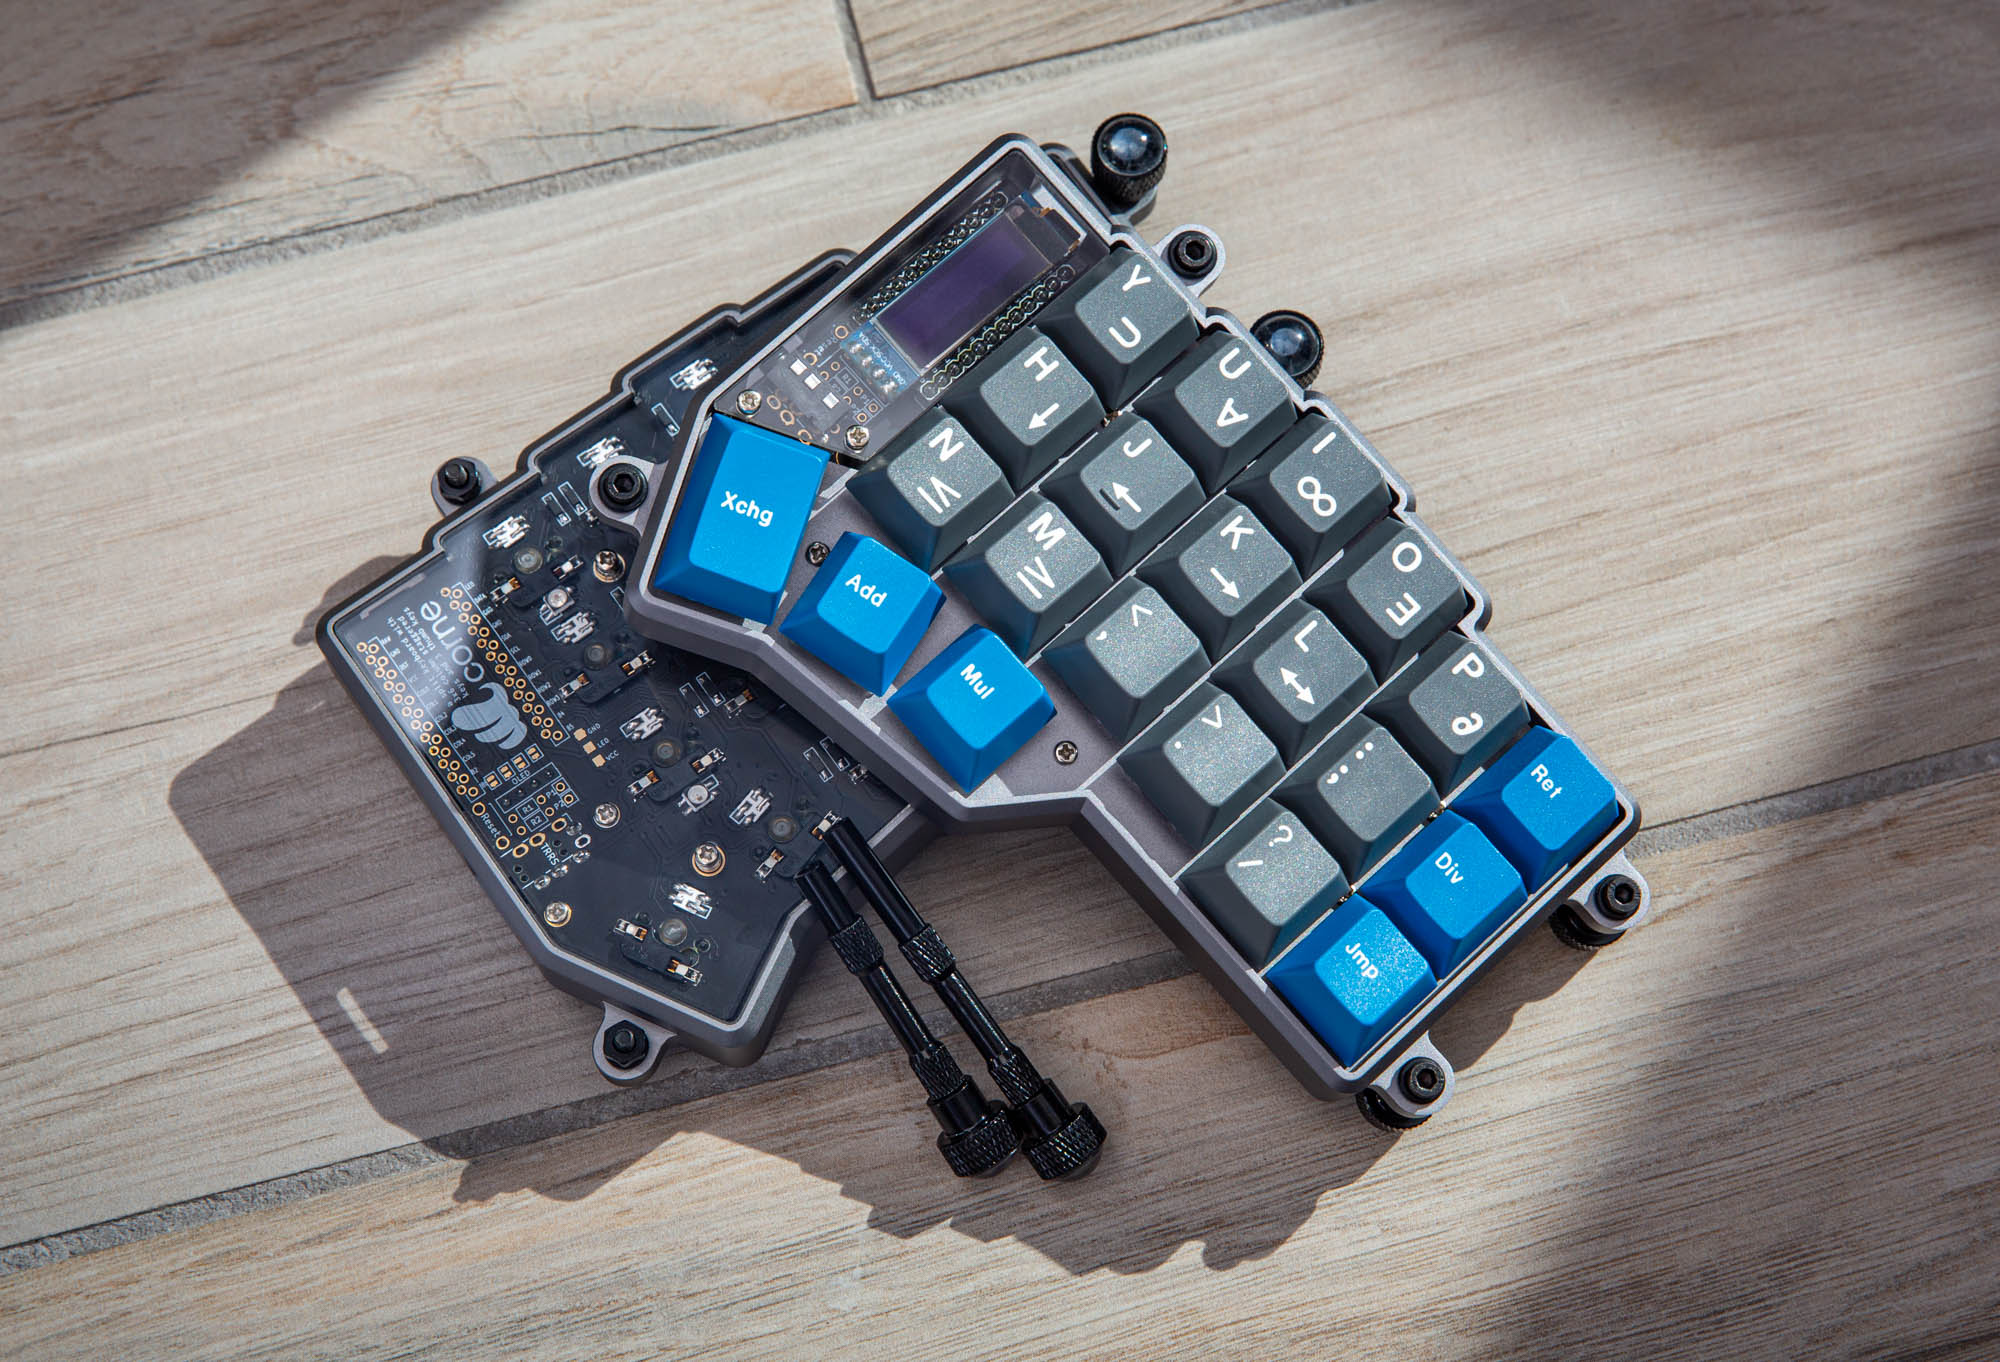
Step 7 - Add keycaps and install tenting legs
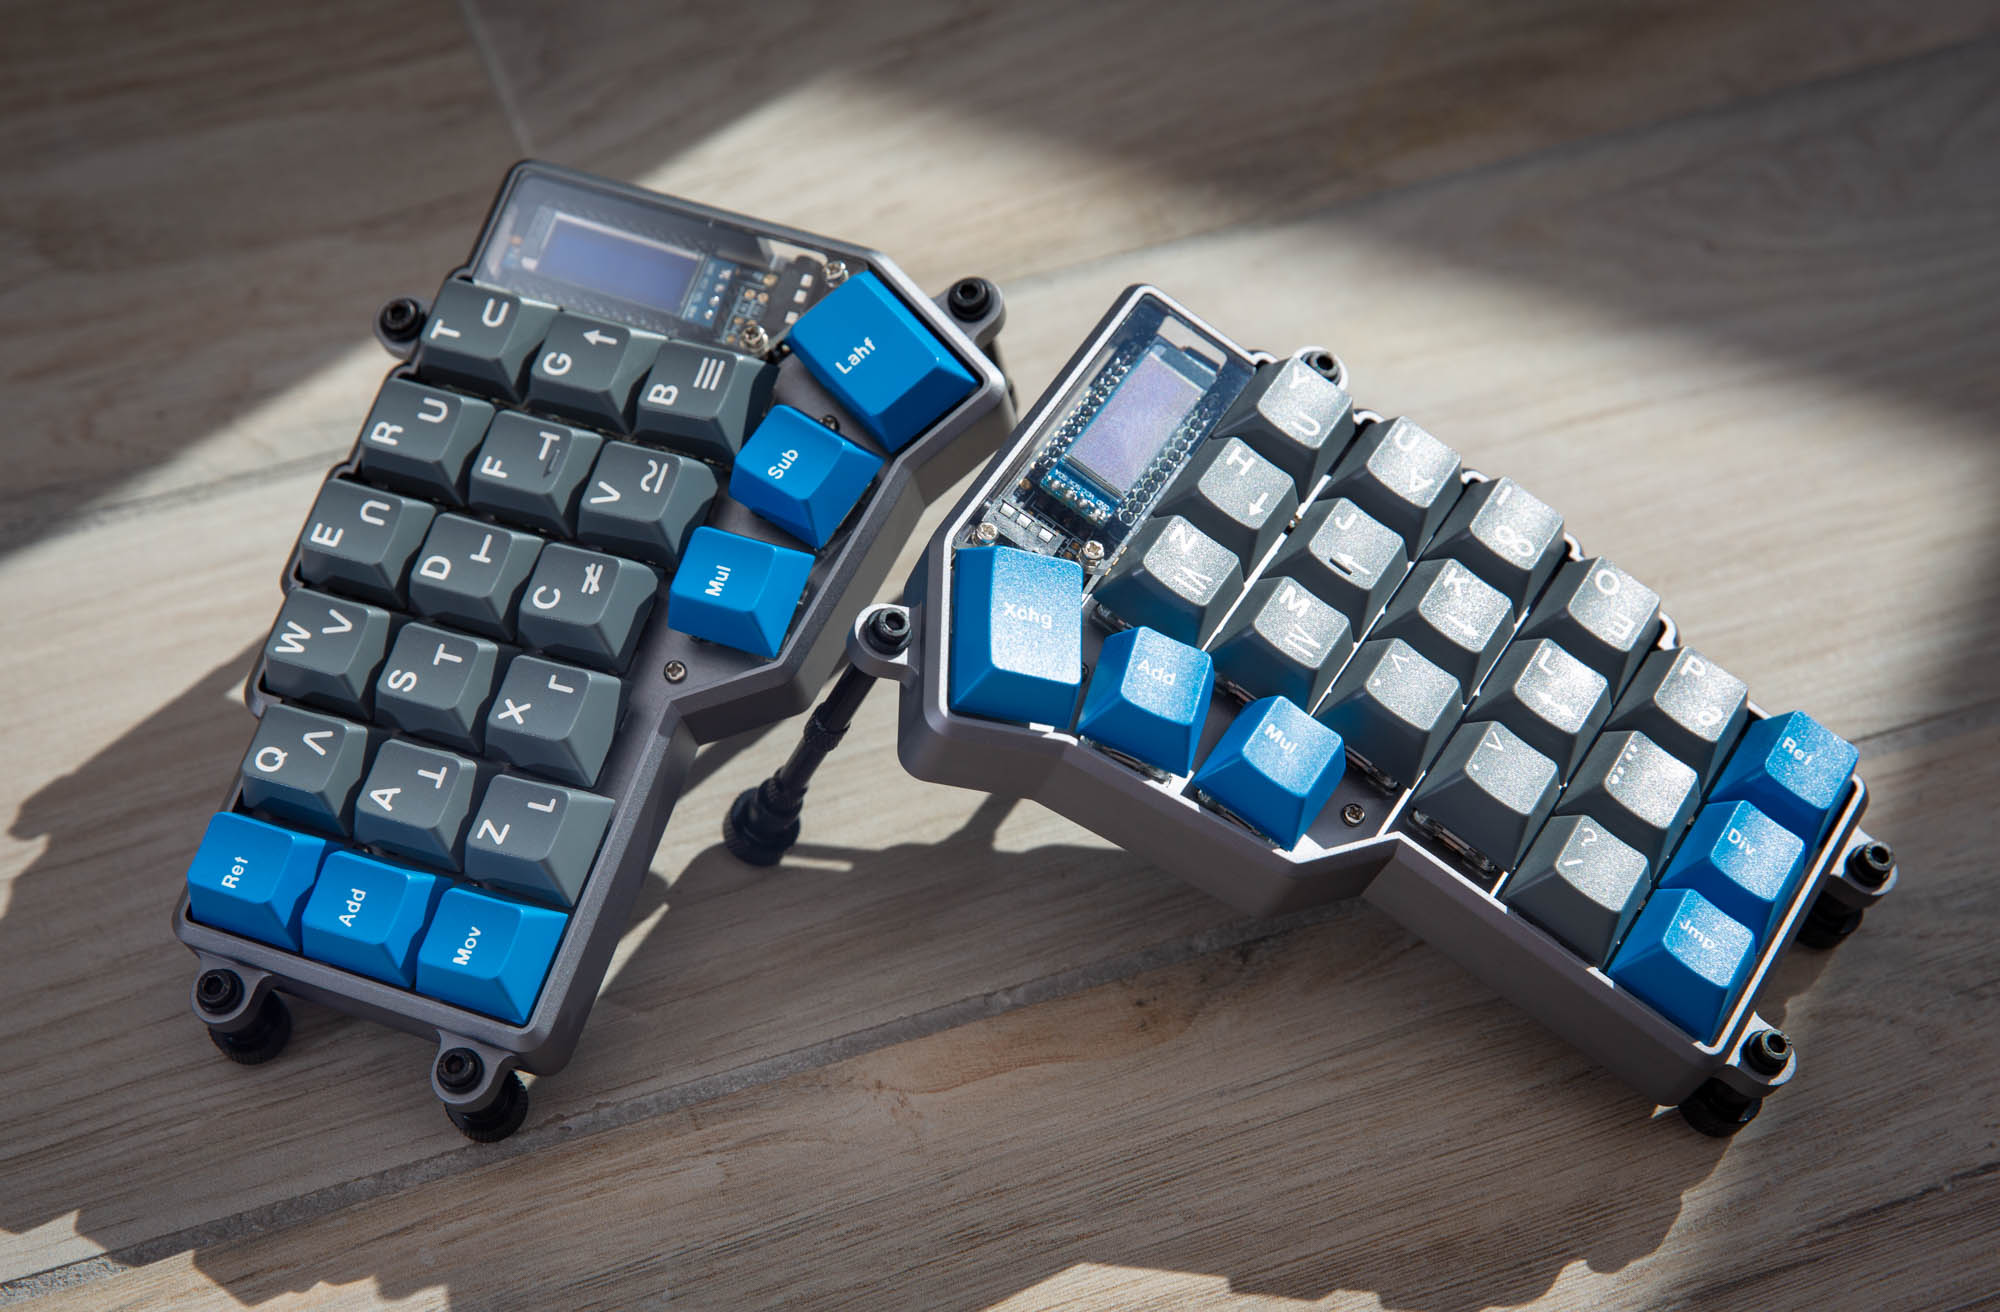
Lastly, add keycaps, then put on tenting legs and enjoy!
